
Tree sap removal from car paint is the controlled softening and lifting of sticky resin without scratching the clearcoat. Use a warm wash, 70% isopropyl alcohol, a tar remover, a fine clay bar, and a light finishing polish. Act fast—heat bakes sap on. If etching is visible, Prime Auto Wash can correct and protect the finish.
By Prime Auto Wash • Last updated: 2026-07-08
Overview
Sap behaves like warm glue at first, then cures into hard resin under sun, bonding to road film and clearcoat. Safe removal relies on chemistry before abrasion. We prioritize gentle solvents, then clay, then a light polish—only escalating if inspection lights show etching.
| Service area | Mississauga, Brampton, Toronto (GTA) • Mobile + in-shop |
|---|---|
| Base location | Unit #3, Mississauga for fast GTA response |
| Hours | Mon–Sat 8:30 am–6:00 pm • Sun 10:00 am–5:00 pm |
| Mobile capability | Self-contained unit with power & water; same‑day often available |
| Rating signal | Consistently 5‑star feedback for detailing quality |
| Relevant specialties | Tree sap & fine scratch removal, paint correction, ceramic coating, PPF |
Mississauga field note from our van
Last June, a customer parked under the row of maples near Mississauga Chinese Centre after a sunny afternoon. The hood looked varnished—hundreds of dots. That’s a two-hour decon in shade. We see the same pattern by Westacres Park after warm weekends. If it’s sat 48+ hours in heat, call us.
Quick Answer: What Actually Removes Tree Sap Without Damaging Paint
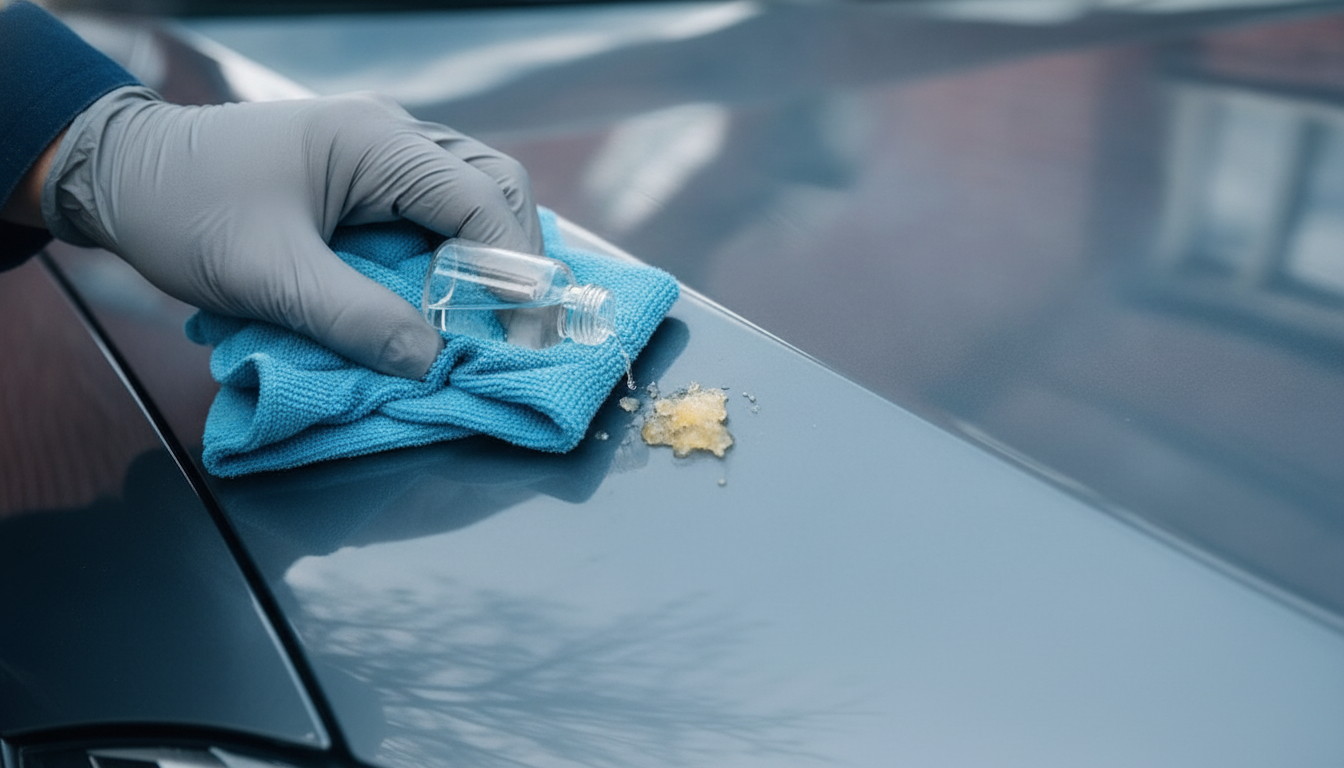
Use chemistry first—70% isopropyl alcohol or tar remover—to soften sap, then lift with a fine clay bar. Finish with a mild finishing polish and a paint sealant. Avoid scraping tools and dry rubbing; they create swirls and may force a full correction.
You’ll feel the difference: fresh sap smears like warm candy; cured sap feels like sand under your fingertips. We treat centers and halos separately because the ring often sticks harder than the drop. If a gentle wipe leaves ghost rings under light, plan for refinement.
Pressed for time? Our mobile detailing at home or office brings steam, lights, and the right chemicals to your driveway so you can keep working while we restore gloss.
Why Tree Sap Is More Dangerous Than It Looks (A Detailer’s Perspective)
Sap cures under sun, shrinking and hardening into resin that bonds with grime. Waiting turns a simple wipe into a multi-stage job and raises the risk of scratches or permanent etching that only machine polishing can fix.
On dark colors, halos show fast. We often see DIY attempts that used paper towels or fingernails—both grind grit into clearcoat. Under an inspection light, those panels look hazy. That’s why we start with lube-rich chemistry, then minimal-touch clay, then only as much polish as the paint safely allows.
For context, we fold sap removal into broader exterior care so the whole panel reads uniformly, not patchy. Our exterior detailing steps explained article shows how decontamination, inspection, and refinement link together.
What You Need Before You Start (Tools & Products We Trust)
Gather a pH-balanced wash, plush microfibers, 70% isopropyl alcohol, a quality tar remover, fine-grade clay with lubricant, a finishing polish, and a soft foam pad. Good lighting is non-negotiable.
- Wash setup: pH-balanced shampoo, two buckets, grit guards, soft mitt.
- Solvents (fresh vs. baked): 70% isopropyl alcohol for fresh spots; a tar remover (e.g., CarPro TarX, Gyeon Tar) for cured dots. Work cool and out of sun.
- Clay system: Fine clay bar and clay lube; avoid aggressive grades unless inspected.
- Finishing polish: A low-cut polish (e.g., Meguiar’s M205) on a soft foam finishing pad (Lake Country black) to clear light haze.
- Machine control: Dual-action polisher speed 3–4 for refinement; slow arm speed; minimal pressure.
- Protection: Paint sealant or ceramic topper to restore slickness and slow re-bonding.
Prefer a packaged approach? Many clients book sap removal inside our full details, like Showroom Detailing Pro Interior Exterior or Exterior Detailing Pro, so the car leaves corrected and protected in one visit.
Step-by-Step Tree Sap Removal — The Professional Method
Decontaminate, soften, lift, refine, protect. This order removes sap efficiently while minimizing scratches and the need for heavy compounding.
- Pre-wash and wash. Rinse, foam, then two-bucket wash to remove grit. Dry with plush towels.
- Spot test solvent. On one dot, dab 70% isopropyl alcohol for 45–60 seconds. If no movement, step up to tar remover for up to 90 seconds. Never on hot paint.
- Blot, don’t rub. Lift softened sap with a fresh microfiber. Fold towels often to avoid re-smearing.
- Clay the area. With clay lube, glide a fine clay bar in straight lines until perfectly smooth.
- Inspect under light. Check for ghost rings or micro-marring. Tape off trims and edges if refining.
- Finishing polish. DA polisher, soft finishing pad, mild polish, speed 3–4, light pressure. Work small sections.
- Panel wipe and protect. Wipe residue, then apply a sealant or ceramic topper for slickness.
- Final check. After cooling, re-inspect the next day; re-touch any faint outlines before they harden.
If you’d like us to handle it curbside, our mobile team brings power, water, steam, and inspection lights to your driveway anywhere in the GTA.
DIY vs. Professional Removal: Comparison Table (Our Stance)
DIY is fine for fresh sap you caught quickly on light colors. If the car sat in heat for 48+ hours, or you see halos on dark paint, skip DIY and call a pro—you’ll likely add swirls and still leave etching behind.
| Aspect | DIY | Professional (Prime Auto Wash) |
|---|---|---|
| Best for | Fresh, small spots; light colors | Baked-on sap, large coverage, dark colors, visible etching |
| Risk | Swirls, residue trails | Minimized with pro lights, pads, controlled process |
| Tools | Alcohol, tar remover, clay | Machine polishers, measured cut, specialty protection |
| Finish result | Clean but may show faint rings | Uniform gloss after refinement |
| Protection | Wax/sealant | Ceramic coating or PPF options |
| Convenience | Your time/effort | Mobile on-site or controlled in-shop |
Local shops like Wash Me Now, Auto Detailing Pro, Detailing Knights, and In N Out Car Wash also tackle sap; we encourage you to choose a provider that inspects under proper lighting and explains their correction plan panel by panel.
When DIY Has Gone Too Far — Signs You Need Paint Correction
If ghost rings remain after solvent and clay, texture still feels grainy, or wiping created swirl trails, the clearcoat has light damage. Controlled machine polishing levels those defects so gloss returns evenly.
In our experience, once sap has cooked for a few hot days, a quick wipe only handles residue. The etched outline stays. That’s when we map the area, measure paint, and refine with a finishing polish—only stepping up cut where safe. If we’re already correcting, we often recommend adding ceramic protection then and there; a freshly corrected surface is the ideal base.
Curious about refinement levels? Our paint correction guide explains how we choose pads, polish, and passes to protect your clearcoat investment long-term.
How to Prevent Sap Damage Long-Term (PPF & Ceramic Coating)
Pair smart parking with protection. Ceramic coatings make cleanup faster; paint protection film (PPF) physically blocks stains and micro-impacts on high-risk panels like hoods and mirrors.
We often combine approaches for daily drivers that sit under trees: ceramic on all painted panels for slickness, plus PPF on the hood, front bumper, and mirror caps. That way, most sap wipes off easily and the leading edges get a sacrificial barrier. When we install PPF, we teach clients how to gently remove sap without lifting film edges.
If you prefer an all-in refresh, our Showroom Detailing Pro Interior Exterior or New Car Package can include decon, refinement, and a protection add-on so you’re not revisiting the same panel twice.

Soft CTA: Get a fast pro assessment
If the car sat under trees in the sun or you’re seeing dull rings, book a quick inspection. Our self-contained mobile unit brings power, water, steam, and lighting to your driveway anywhere in the GTA.
Helpful pairings: exterior decon + light polish, then ceramic protection; or targeted PPF on leading edges.
Local considerations for Unit #3
- Shade parking near Mississauga Chinese Centre collects sap after warm afternoons. Rinse within 24 hours to reduce halos.
- Spring pollen plus sap forms a stubborn film. Book washes every 1–2 weeks during peak bloom to stay ahead.
- By Westacres Park, keep a small rinseless spray and a microfiber in the trunk for quick wipe-downs before it cures.
FAQ
Safe sap removal follows a simple sequence: wash, soften with the right solvent, clay, then lightly polish and protect. If rings remain or the surface still feels grainy, schedule a professional correction and consider long-term protection.
Will rubbing alcohol damage my car’s paint?
Used correctly, 70% isopropyl alcohol softens fresh sap without harming clearcoat. Work on a cool panel, dab (don’t scrub), and wipe as soon as the sap loosens. Follow with a wash, clay if needed, and a protective sealant or ceramic topper.
How can I tell if sap etched my paint?
If faint white rings remain under inspection light or the area feels rough even after claying, the clearcoat is etched. Chemical removers won’t fix etching. A measured machine polish restores clarity and levels the micro-defects.
Is ceramic coating or PPF better for sap?
They solve different problems. Ceramic coatings add slickness so sap bonds less and wipes off faster. PPF is a physical barrier on high-impact zones. Many drivers use both: coating everywhere, PPF on the hood and mirrors.
What if I already scratched the spot?
Stop scrubbing. Wash, use clay with lube, then seek a pro evaluation. Light swirls and haze are usually correctable with a finishing polish; deeper marks may need targeted compounding under paint-safe measurements.
For perspective on film benefits in wet conditions and stain resistance, see this overview of paint protection film in rainy seasons: PPF in rainy seasons. Learn more about reasons drivers choose film here and practical examples here.
Key takeaways
- Catch sap early; use chemistry before abrasion.
- Halos after cleaning mean light clearcoat damage—plan refinement.
- After correction, protect: ceramic for slickness; PPF on high-risk zones.
- In Mississauga’s tree-lined areas, schedule regular washes during peak sap season.
- When in doubt, our mobile team can assess and fix it the same day.
Ready for help? Book Prime Auto Wash in Unit #3, Mississauga for an on-site assessment. We’ll remove the sap safely, restore clarity, and recommend the right ceramic or PPF strategy so it’s easier next time.