
Leather seats instantly make any vehicle feel more luxurious, comfortable, and valuable. Whether you own a family SUV, a luxury sedan, or a sports car, leather upholstery adds elegance while increasing your vehicle’s resale value.
However, leather is a natural material that requires regular maintenance. Dirt, body oils, UV rays, spilled drinks, food particles, and daily use gradually dry out the leather, causing it to lose its softness and shine. Without proper care, leather seats can become stiff, faded, cracked, and permanently damaged.
The good news is that cleaning and conditioning leather seats isn’t difficult when done correctly. With the right products and techniques, you can keep your car’s interior looking like new for years.
This complete guide explains everything you need to know about cleaning, conditioning, and protecting leather car seats while avoiding the common mistakes that shorten their lifespan.
Why Leather Car Seats Need Regular Maintenance
Many drivers believe leather seats only require occasional wiping, but that’s one of the biggest misconceptions about leather care.
Every time you enter your vehicle, your seats collect:
- Dust
- Dirt
- Sweat
- Body oils
- Sunscreen
- Food crumbs
- Pet hair
- Moisture
- UV exposure
Over time, these contaminants settle into the leather’s protective coating, gradually causing it to dry out. As the leather loses its natural flexibility, small wrinkles appear, followed by discoloration and eventually cracks.
Routine cleaning removes harmful contaminants before they cause permanent damage, while conditioning restores essential moisture and flexibility to keep the leather soft and supple.
Regular maintenance not only preserves the appearance of your seats but also helps maintain your vehicle’s resale value.
How Often Should You Clean Leather Car Seats?
The ideal cleaning schedule depends on how often you drive and your vehicle’s exposure to dirt and sunlight.
For Daily Drivers
Clean leather seats every 4 to 6 weeks.
Condition them every 3 to 4 months.
For Luxury or Weekend Cars
Clean every 2 to 3 months.
Condition twice a year.
For Families with Children or Pets
Monthly cleaning is recommended due to increased dirt, spills, and everyday wear.
If your vehicle is parked outdoors most of the time, you may need to condition the leather more frequently because constant UV exposure accelerates drying and fading.
What You’ll Need Before You Start
Using the correct products is essential because household cleaners can permanently damage automotive leather.
Recommended Cleaning Supplies
- Vacuum cleaner with soft brush attachment
- Soft microfiber towels
- Soft detailing brush
- pH-balanced leather cleaner
- Leather conditioner
- Foam applicator pad
- Soft detailing brush for stitching
- Clean water
Avoid using:
- Dish soap
- Bleach
- Glass cleaner
- Alcohol-based cleaners
- Furniture polish
- Baby wipes
- Silicone sprays
These products can strip away the leather’s protective coating and lead to premature cracking.
Step-by-Step Guide to Cleaning Leather Car Seats
Step 1: Vacuum the Seats
Before applying any cleaner, remove loose dirt and debris.
Use a vacuum with a soft brush attachment to clean:
- Seat cushions
- Seat backs
- Side bolsters
- Stitching
- Seat creases
- Under the seats
Skipping this step can cause dirt particles to scratch the leather during cleaning.
Step 2: Test the Leather Cleaner
Always test the cleaner on a hidden section of the seat before treating the entire surface.
Wait a few minutes to ensure there is no discoloration or adverse reaction.
Step 3: Apply Leather Cleaner
Spray the cleaner onto a microfiber cloth or detailing brush instead of spraying directly onto the leather.
This helps prevent oversaturation and keeps excess moisture away from the stitching and seat foam.
Work on one section at a time.
Step 4: Gently Agitate the Surface
Using a soft detailing brush, gently work the cleaner into the leather using circular motions.
Pay extra attention to high-contact areas such as:
- Driver’s seat
- Seat bolsters
- Armrests
- Headrests
These areas accumulate the most body oils and dirt.
Step 5: Wipe Away Dirt
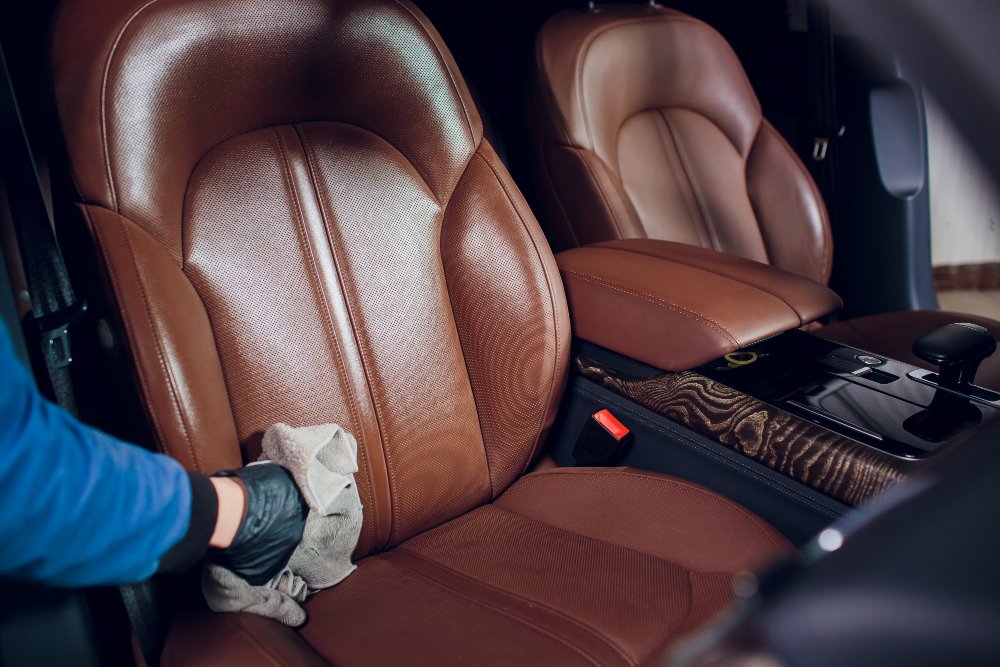
Use a clean microfiber towel to wipe away the loosened dirt and cleaner.
You’ll often notice the towel becoming dark as contaminants are removed.
Repeat the process if necessary.
Step 6: Allow the Leather to Dry
Allow the seats to air dry naturally for 15–30 minutes.
Do not use heat guns or hair dryers, as excessive heat can dry out the leather.
How to Remove Tough Leather Seat Stains
Some stains require additional care.
Food Stains
Clean immediately using a leather-safe cleaner.
Never allow spills to dry.
Ink Stains
Use a leather-specific ink remover.
Avoid rubbing aggressively because this may spread the stain.
Grease and Oil
Blot excess oil with a dry microfiber towel.
Apply leather cleaner and gently clean the area.
Dye Transfer
Blue jeans and dark clothing often leave dye marks on light-colored leather.
Specialized leather cleaners designed for dye transfer work best.
Treat these stains as soon as possible.
Why Conditioning Leather Seats Is Important
Cleaning removes dirt, but conditioning restores moisture.
Over time, leather naturally loses its oils due to:
- Sunlight
- Heat
- Air conditioning
- Daily use
Conditioning helps:
- Prevent cracking
- Restore softness
- Improve flexibility
- Reduce fading
- Maintain a natural finish
- Extend leather lifespan
Think of leather conditioner as moisturizer for your vehicle’s seats.
How to Properly Condition Leather Car Seats
Step 1: Ensure the Leather Is Completely Clean
Never apply conditioner to dirty leather.
Conditioning traps contaminants beneath the protective layer.
Step 2: Apply a Small Amount
Use a foam applicator or microfiber applicator pad.
Less product usually provides better results.
Step 3: Work Section by Section
Massage the conditioner into the leather using circular motions.
Cover:
- Seat cushions
- Seat backs
- Bolsters
- Headrests
- Armrests
Apply a thin, even layer.
Step 4: Allow the Conditioner to Absorb
Most leather conditioners require 15–30 minutes to absorb.
Always follow the manufacturer’s instructions.
Step 5: Buff the Surface
Use a clean microfiber towel to remove excess product.
Properly conditioned leather should feel soft—not greasy.
Common Leather Care Mistakes to Avoid
Many leather seats become damaged because of improper maintenance rather than age.
Avoid these common mistakes:
Using Household Cleaners
General-purpose cleaners contain harsh chemicals that remove protective coatings.
Scrubbing Too Hard
Aggressive scrubbing can damage the leather finish.
Always use soft brushes.
Applying Too Much Conditioner
Excess conditioner attracts dust and leaves a sticky surface.
Thin coats work best.
Ignoring UV Protection
Sunlight dries leather faster than almost anything else.
Use windshield sunshades whenever possible.
Skipping Regular Cleaning
Waiting until seats appear dirty allows contaminants to become embedded in the leather.
Routine maintenance is much easier than restoring neglected leather.
How to Protect Leather Seats from UV Damage
UV rays are one of the leading causes of faded and cracked leather interiors.
Protect your seats by:
- Parking in a garage whenever possible
- Using windshield sunshades
- Applying leather conditioner regularly
- Installing UV-blocking window tint where permitted
- Keeping windows slightly ventilated during extreme heat
Consistent protection significantly extends the life of leather upholstery.
Leather Seat Maintenance Schedule
Weekly
- Remove dust
- Vacuum debris
Monthly
- Clean leather seats
- Inspect for stains
Every 3–4 Months
- Apply leather conditioner
- Check for wear and discoloration
Annually
- Deep interior detailing
- Professional leather treatment if necessary
Following this schedule helps prevent expensive repairs and keeps your vehicle looking premium.
Frequently Asked Questions
Can I use baby wipes on leather car seats?
No. Many baby wipes contain chemicals that can dry out leather and damage its protective coating.
What is the best cleaner for leather car seats?
Use a pH-balanced automotive leather cleaner specifically designed for vehicle interiors.
How often should leather seats be conditioned?
Most vehicles benefit from conditioning every three to four months, although seats exposed to direct sunlight may require more frequent treatment.
Is coconut oil or olive oil safe for leather seats?
No. Household oils can leave greasy residues, attract dirt, and damage automotive leather over time.
Always use a dedicated leather conditioner.
Can cracked leather seats be repaired?
Minor cracks can often be improved using professional leather repair kits.
Severe cracking usually requires professional restoration or upholstery replacement.
Should I clean leather seats before conditioning them?
Yes.
Always clean leather first. Applying conditioner to dirty leather traps contaminants and reduces the effectiveness of the treatment.
Final Thoughts
Leather car seats are a premium feature that deserves regular care. With consistent cleaning and conditioning, you can prevent fading, cracking, and premature wear while keeping your vehicle’s interior looking luxurious for years.
By using the right products, following a proper maintenance schedule, and protecting your seats from UV exposure, you’ll not only improve your driving experience but also preserve your vehicle’s long-term value.
A little maintenance every few months goes a long way toward ensuring your leather seats remain soft, clean, and comfortable throughout the life of your vehicle.
Keep Your Car Looking Its Best with Prime Auto Wash
Regular car care is about more than appearance—it helps preserve your vehicle’s value, protects the paintwork, and creates a more enjoyable driving experience. At Prime Auto Wash, we offer professional car detailing and cleaning services designed to keep every part of your vehicle in excellent condition.
Whether you need a thorough interior car cleaning, a premium exterior hand wash, paint protection, ceramic coating, or engine bay cleaning, our experienced team uses high-quality products and proven techniques to deliver outstanding results.
If you’re looking for more ways to maintain your vehicle, you may also find these guides helpful:
- Learn how to protect your vehicle’s finish with our Car Paint Protection service.
- Keep your cabin spotless with our Interior Car Detailing service.
- Restore your vehicle’s shine with our Paint Correction solutions.
- Give your wheels a fresh look with our Alloy Wheel Cleaning and Protection service.
- Complete your vehicle care routine with our Full Car Detailing Package.
No matter what your car needs, Prime Auto Wash is committed to delivering professional results that keep your vehicle clean, protected, and looking its best throughout the year.