When to choose paint correction over polishing? Choose correction when you need permanent removal of clear-coat defects, not just more shine. Polishing refines gloss; correction levels the clear coat to erase swirls, light scratches, oxidation, and etching. In Unit #3, Mississauga, this guide shows how to decide with real scenarios from Prime Auto Wash.
By Prime Auto Wash • Author: sajid tarwal
Last updated: 2026-06-25
At a Glance
Paint correction removes measured microns of clear coat to permanently eliminate defects; polishing is a milder step that boosts gloss without fully removing damage. Choose correction for visible swirls, light scratches, oxidation, and etched water spots; choose polishing for a quick gloss refresh on otherwise healthy paint.
- Correction = defect removal; polishing = gloss enhancement.
- Pick correction when defects are obvious under sun or LEDs.
- Protect results with ceramic coating or PPF for longer-lasting gloss.
What Is Paint Correction?
Paint correction is the controlled removal of a tiny, measured layer of clear coat to eliminate swirls, scratches, oxidation, and etching. Technicians use machines, pads, and abrasive liquids to level the surface, then refine it to restore optical clarity and depth before adding protection.
Both polishing and correction use abrasives, but the intent differs. Correction erases defects by leveling clear coat; polishing refines gloss on already healthy paint or finishes after a cutting step.
- Goal: Permanently remove visible defects, not just hide them.
- Inputs: Machine polisher (DA/rotary), graded pads, compounds, and polishes.
- Outputs: Defect reduction, glossy clarity, and a stable base for protection.
Healthy paint needs minimal material removal. We always chase the fewest passes and the mildest combo that achieves the target finish. That balance preserves longevity while delivering the transformation you expect.
Polishing vs. Correction: What’s the Difference?
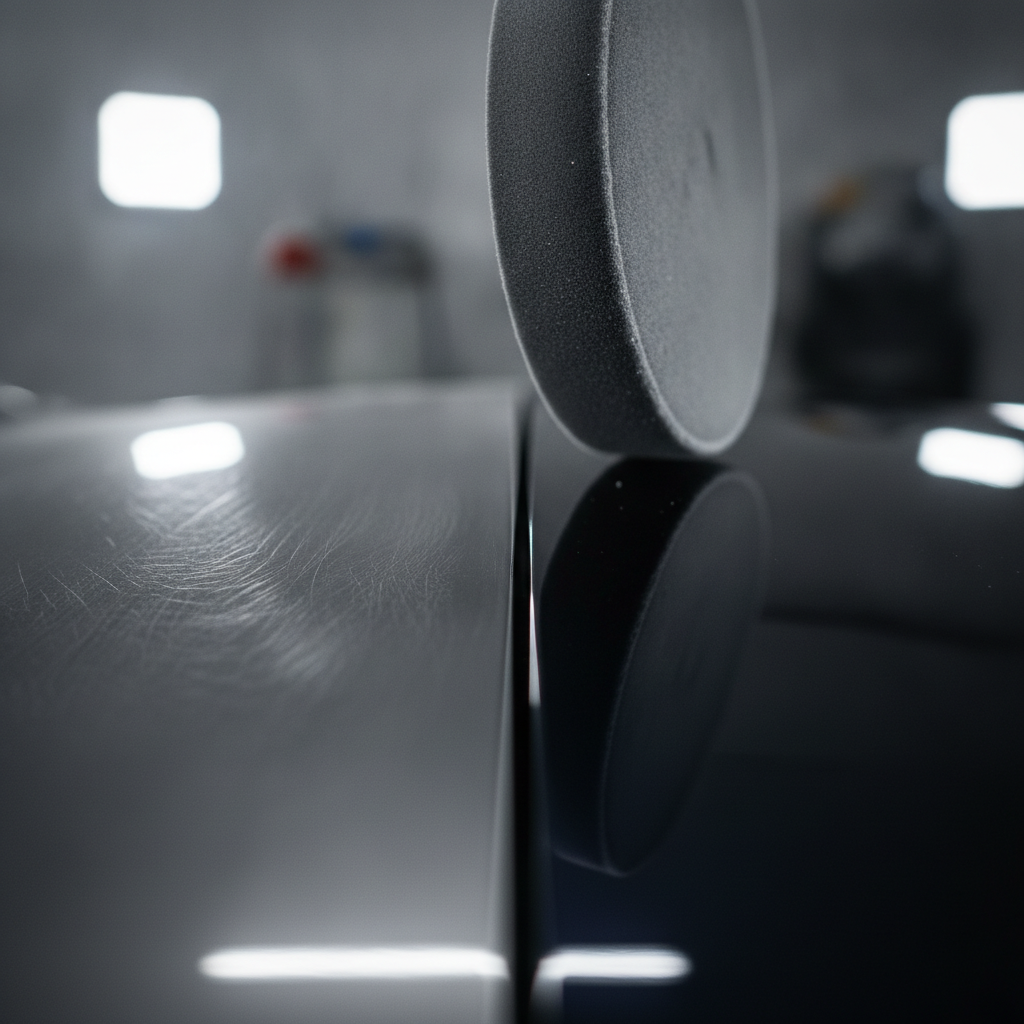
Polishing lightly refines the surface to increase gloss and reduce fine haze. Paint correction goes further by cutting the clear coat to remove embedded swirls, RIDS (random isolated deep scratches), oxidation, and etching. Use polishing for light haze; use correction when you see real defects under strong light.
Here’s a practical comparison we walk Mississauga owners through at our shop or driveway appointments:
| Factor | Polishing | Paint Correction |
|---|---|---|
| Primary goal | Boost gloss and clarity | Remove visible defects |
| Defects addressed | Light haze, micro-marring | Swirls, light scratches, oxidation, etching |
| Abrasive level | Mild, finishing | Moderate to heavy (controlled) |
| Stages | Usually single step | 1–3+ stages (cut and refine) |
| Time investment | Short | Longer, more meticulous |
| When to select | Healthy paint, dull look | Defects visible under sun/LED |
| Follow-up | Sealant or light wax | Ceramic coating or PPF |
Confused between the two? Our detailing vs. car washing guide explains how improper washing creates swirls that polishing can’t fully remove. When in doubt, we perform a test spot so you can see the difference before committing.
When to Choose Paint Correction Over Polishing
Choose paint correction over polishing when you see circular swirls in sunlight, light scratches that don’t catch a fingernail, etched water spots, or oxidation dulling the finish. Correction is also the right move before ceramic coatings or PPF so protection locks in a flawless base.
- Swirls and holograms: Obvious in direct sun or under high-CRI LEDs.
- Shallow scratches: Fingernail doesn’t catch, indicating surface-level damage.
- Etching: Water spots or bird-drop imprints that washing won’t remove.
- Oxidation: Chalky or faded paint, especially on neglected hoods/roofs.
- Before protection: Correct first, then add ceramic/PPF.
Use polishing if the paint is fundamentally healthy but just lacks pop. For example, newer vehicles often respond well to a one-step enhancement before we seal or coat the finish.
If hard water is a factor where you park or commute, bookmark our tips on removing water spots and our deeper dive on how to get rid of water spots. Both explain prevention that keeps you from needing heavy correction again.
Why the Right Choice Matters
Selecting the right approach preserves clear coat, improves resale photos, and helps coatings or PPF adhere longer. Over-correcting can thin clear coat; under-correcting leaves defects that trap dirt and accelerate wear. The best result is maximum clarity with minimal material removal.
- Preserve paint: We choose the least aggressive combo that achieves your goal.
- Value and confidence: Clean reflections and color depth help your car photograph like new.
- Protection longevity: Smooth, defect-free paint bonds better with coatings and films.
For long-term health, see our piece on how detailing boosts resale value and our sun damage protection guide. Both connect the dots between a corrected surface and slower degradation over seasons.
How Professional Paint Correction Works (Step-by-Step)
We inspect and map defects under purpose-built lighting, decontaminate the surface, test-pad a small area, then cut and refine in stages. After a panel wipe, we validate under LEDs and lock in results with a sealant, ceramic coating, or PPF. Every step balances cut, heat, and finish.
- Inspection & lighting: We use high-CRI LEDs to reveal true defects and, when needed, check paint condition panel by panel.
- Decontamination: Pre-wash foam, iron/fallout remover, and a careful clay bar so abrasives don’t skate over bonded grit.
- Test spot: We dial in pad, liquid, and machine speed on a small area to prove results before touching the rest.
- Cutting stage: A compound with a microfiber or wool/foam pad removes the bulk of swirls and etching.
- Refinement: A finishing polish on a softer pad restores extreme clarity and depth.
- Panel wipe & check: Solvent wipe reveals the true finish; we validate under LEDs at multiple angles.
- Protection: Sealant, ceramic coating, or PPF to lock in the corrected finish.
In our experience across the GTA, most daily drivers benefit from a two-step approach on horizontal panels, with lighter polishing on lower doors where defects are milder. We adapt by paint system and condition so you get the right outcome—not an overkill package.
Types, Levels, and Methods
Correction ranges from one-step enhancement to multi-step restoration. Dual-action polishers minimize risk and deliver excellent finishes; rotary polishers can speed severe defect removal in skilled hands. Pads and polishes are selected to balance cutting power with final finish quality.
- One-step (enhancement): Mild correction plus gloss—great for newer cars before sealant or coating.
- Two-step: Compound to cut, then polish to refine—dramatic improvements for most commuters.
- Multi-step: Heavy cut, medium polish, and ultra-fine jeweling—reserved for show cars or neglected finishes.
- Machines: Dual-action/random orbital for safety; rotary for speed on severe defects with expert control.
- Pads & polishes: Microfiber, foam, or wool with diminishing or non-diminishing abrasives tailored to the paint.
Before protection, we often recommend selective PPF on impact zones. For background on film function and coverage areas, see this paint protection overview. It explains how film absorbs chips so your corrected paint doesn’t.
Best Practices After Correction
Protect the finish with ceramic coating or PPF, then switch to safe-wash habits. Use a two-bucket method, soft mitts, pH-balanced shampoo, and forced-air drying. Seasonally decontaminate, and clay only as needed to avoid reintroducing marring.
- Ceramic coating: Adds slickness and chemical resistance for easier cleaning.
- PPF on high-impact areas: Bumper, hood, rockers, mirrors reduce chips and scuffs.
- Safe-wash routine: Pre-rinse, contact wash, dedicated wheel tools, and clean drying towels.
- Seasonal care: Post-winter decon to remove salt; mid-summer checks for water-spot risks.
New to safe washing? Our team’s guidance pairs well with this quick primer: benefits of professional detailing vs. DIY. A few small changes in technique can preserve your corrected finish for years.
Tools and Resources We Use
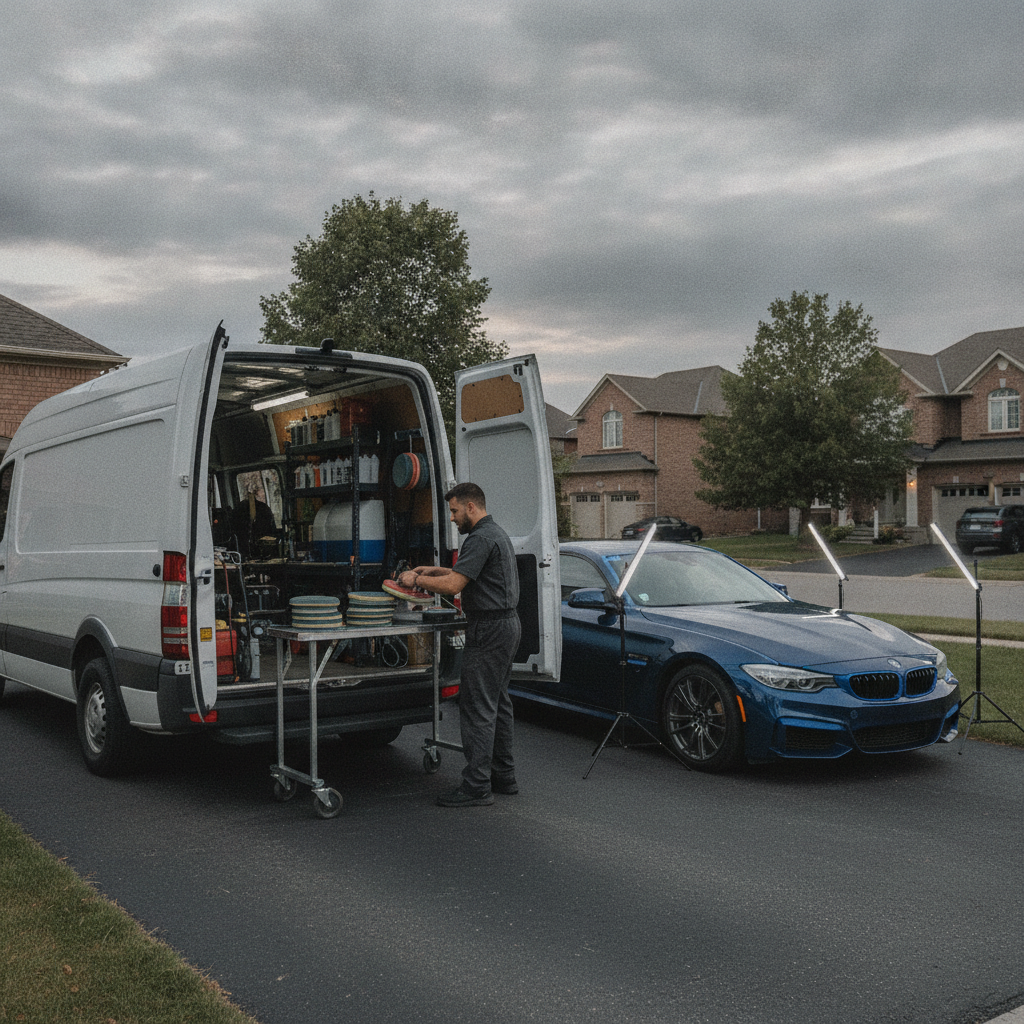
Prime Auto Wash pairs professional DA and rotary machines with calibrated lighting, paint-safe chemicals, and optional paint-depth checks. Our mobile unit brings its own power and water, so you get dealership-level correction at home or work anywhere in Mississauga, Brampton, or the GTA.
- Lighting: High-CRI LEDs reveal swirls and RIDS others miss.
- Machines: Dual-action/orbital for safety; rotary for advanced cases.
- Pads: Microfiber and foam in graduated cuts for targeted results.
- Liquids: Compounds and polishes tuned to your paint system.
- Protection: Ceramic coatings and precision-cut PPF to lock in clarity.
We also bring interior care when it matters. If your rideshare vehicle needs a refresh between exterior stages, see why interior detailing matters more than you think.
Free driveway assessment in Unit #3: Not sure if you need polishing or multi-step correction? Book a quick inspection and test spot. We’ll recommend enhancement, targeted correction, or full restoration—then protect it with ceramic coating or PPF.
Case Studies: Mississauga and GTA Vehicles
Real-world results highlight the difference. A daily driver from Unit #3 needed two-step correction before ceramic coating. A highway commuter benefitted from targeted compounding and PPF on the front clip. A rideshare vehicle chose an enhancement polish for fast turnaround and better rider impressions.
- Daily driver, Unit #3: Years of tunnel-wash swirls removed with compound and polish; ceramic coating added easy-clean behavior.
- Highway commuter: Corrected hood and bumper, then applied PPF to absorb rock chips and bug etching on the route near bus corridors.
- Rideshare sedan: Enhancement polish for time-sensitive gloss; interior sanitized between shifts for a fresher cabin.
Curious about protection durability? Our overview on how often to detail in Canada explains maintenance intervals that keep corrected paint looking freshly finished.
Local considerations for Unit #3
- Weekend slots near Mississauga Chinese Centre book quickly; weekday appointments often mean faster turnaround.
- After winter, schedule decontamination and inspection to address salt and sand micro-marring before it worsens.
- If you commute via Cawthra Rd At Dundas St, consider PPF on the front clip to reduce chip risk from bus corridor debris.
Frequently Asked Questions
Most owners should choose paint correction when they can see swirls or light scratches under strong light, or before adding ceramic coating or PPF. Polishing is best for quick gloss improvement on healthy paint or as the final refining stage after correction.
How do I tell if I need correction or just polishing?
Inspect paint in direct sun or under a handheld LED. If you see circular swirls or shallow scratches across panels, correction is appropriate. If the surface looks clean but slightly dull, a light polish usually brings back clarity.
Is paint correction safe for my clear coat?
Yes—when performed by trained technicians using the least aggressive method. We test a small area first, manage heat and pressure, and refine with softer pads to minimize clear-coat removal while delivering a dramatic improvement.
Should I coat or PPF after correction?
We recommend it. Ceramic coating adds chemical resistance and gloss; PPF provides chip and abrasion protection. Many owners coat all painted surfaces and apply PPF to high-impact zones like the hood, bumper, and mirrors.
Can correction fix deep scratches I can feel?
If a scratch catches your fingernail, it’s likely through much of the clear coat. We can often reduce its visibility, but complete removal may not be safe. Spot sanding and touch-up can blend the edge while preserving surrounding paint.
Is DIY polishing a good idea?
DIY can help with light haze, but machine control and inspection lighting are critical. If you plan coatings or PPF, get a professional test spot first. That way, long-term protection isn’t locking in existing defects.
Key Takeaways and Next Steps
Use polishing for light haze and maintenance gloss. Choose paint correction over polishing when defects are visible in strong light or before long-term protection. Protect the result with ceramic coating or PPF and maintain safe-wash habits to keep that just-corrected look.
- See swirls or etching? Correction first, then protect.
- Healthy paint but dull? A one-step polish can revive gloss fast.
- Adopt safe-wash methods to prevent new marring.
- Reassess after winter and high-pollen months for spot treatment.
If you’re in Unit #3 and want a professional eye, we’ll meet you curbside with our self-contained mobile unit. We’ll inspect, create a test spot, and recommend the right path—enhancement polish, targeted correction, or full multi-step restoration—then lock it in with ceramic coating or PPF.
For background reading on paint protection film function and coverage trade-offs, see this concise paint protection overview. For a broader repair perspective, browse this auto body shop resource. For surface finishing insights (different industry, same principles of prep and correction), review this deficiency correction example.