Exterior car detailing is the systematic cleaning, decontamination, correction, and protection of your vehicle’s outside surfaces. This guide delivers exterior car detailing steps explained in clear order so you can protect paint, glass, trim, and wheels. In Unit #3, Mississauga, following a proven process helps prevent salt damage and keeps daily drivers looking newer for longer.
By Prime Auto Wash • Last updated: 2026-07-07
Overview
Exterior detailing preserves your vehicle by removing dirt, bonded contaminants, and minor defects before sealing in gloss with durable protection. The core flow is wash, decontaminate, correct, and protect. Done properly, paint stays cleaner longer, water beads better, and future washes take 30–40% less time and water.
Think of exterior detailing as a playbook: precise steps, clear tools, and measurable results. Our Mississauga team uses a repeatable sequence that works at home (mobile service) or in-shop.
- What you’ll learn: the full process, tools, times, and pro tips
- Why it matters: longer-lasting shine and easier maintenance all year
- Local angle: winter salt removal and spring sap control in Unit #3
- Actionables: checklists, a comparison table, and common mistakes to avoid
What Is Exterior Car Detailing?
Exterior car detailing is a structured process that cleans, decontaminates, corrects, and protects the paint, glass, wheels, and trim. It goes beyond a basic wash to remove bonded grime, reduce swirls, restore gloss, and apply protection like wax, sealant, ceramic coating, or paint protection film.
In simple terms, exterior detailing targets three goals: clean thoroughly, refine safely, and protect intelligently. We map each goal to specific steps so you know exactly what happens and why it matters to your finish.
- Clean: Pre-rinse, foam pre-wash, two-bucket hand wash, wheel and tire cleaning.
- Decontaminate: Iron remover to dissolve ferrous particles; clay bar to lift embedded grit.
- Correct: Single- or multi-stage machine polishing to reduce swirls and haze.
- Protect: Wax or sealant for weeks to months, ceramic coatings for years, or PPF for impact zones.
Prime Auto Wash performs these steps on daily drivers, luxury vehicles, and commercial fleets. If you’re balancing school runs and the 401, a consistent exterior routine keeps your car looking sharp between washes.
Why Exterior Detailing Matters
Exterior detailing prevents premature wear by removing abrasive grime, neutralizing contaminants, and adding a sacrificial layer. Clean paint reduces micro-marring from washing, protected surfaces shed water faster, and headlights and glass stay clearer for safer day and night driving.
Here’s the thing: modern clear coat is thin—often measured in tens of microns—so every scratch or harsh wash counts. A consistent process cuts risk and extends that clear coat’s service life.
- Clarity and safety: Polished glass and headlights improve visibility, especially in rain or at dusk.
- Time savings: With protection applied, routine washes can be 30–50% faster thanks to better beading and less bonded dirt.
- Seasonal defense: In Mississauga winters, quick salt removal reduces staining and potential corrosion on painted and metal parts.
- Higher resale appeal: Consistent shine and documented care signal value to buyers and leasing inspectors.
We’ve seen commuters regain that “new car” look with a 90–120 minute exterior service and a follow-up maintenance wash every 2–4 weeks. Small habits compound into big results.
Exterior Car Detailing Steps Explained
The professional sequence is: pre-rinse, foam pre-wash, wheel and tire cleaning, contact wash (two-bucket), chemical decontamination, mechanical decontamination (clay), drying, surface inspection, paint correction (as needed), and protection (wax, sealant, ceramic, or PPF). Each step reduces risk and builds toward durable gloss.
Follow this proven, low-risk order. It moves from least-contact to most-contact and from dirtiest areas (wheels) to clean paint, limiting cross-contamination.
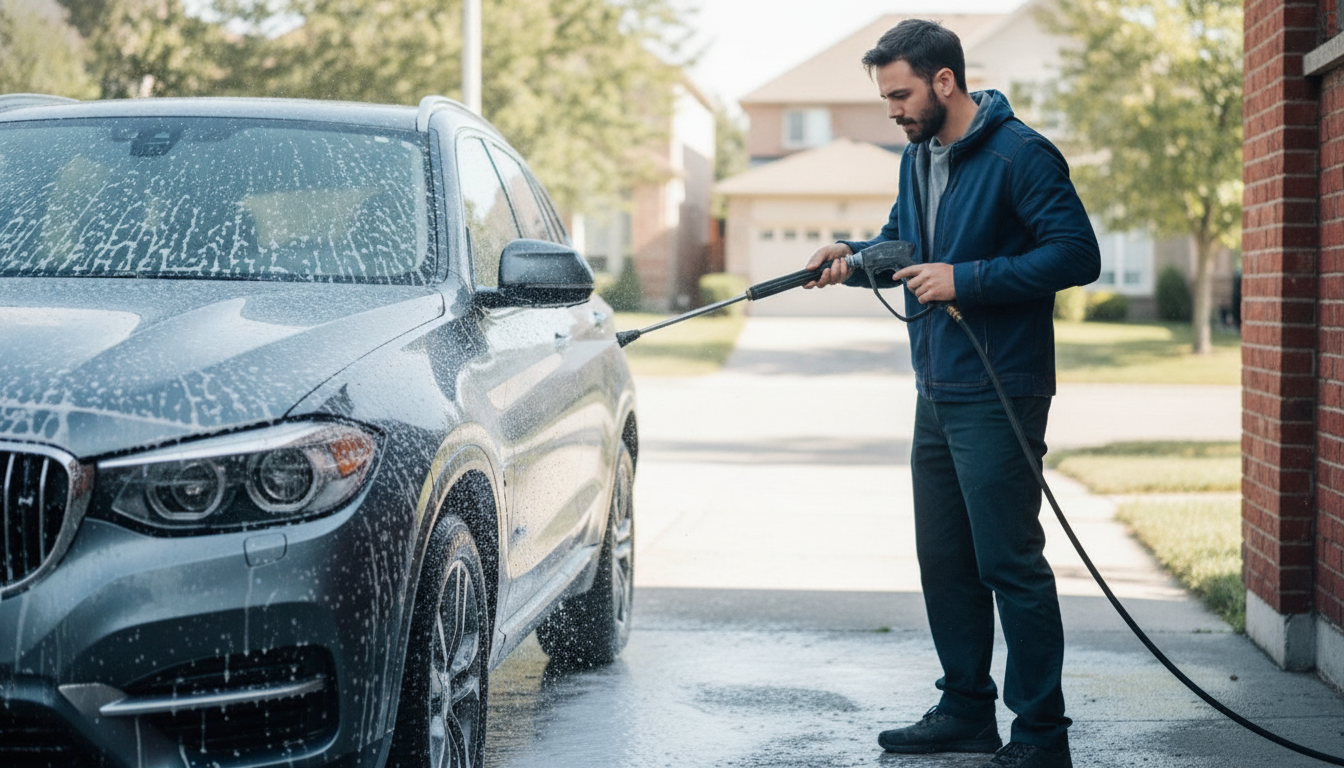
- Pre-rinse (2–4 minutes): Pressure-rinse top to bottom to remove loose grit without touching the paint.
- Foam pre-wash (3–5 minutes dwell): Lay thick foam; let it encapsulate grime so it slides off safely.
- Wheels and tires (6–10 minutes): Use dedicated mitts/brushes; clean barrels, faces, and tires; rinse thoroughly.
- Two-bucket contact wash (10–15 minutes): One soap bucket, one rinse bucket with grit guard; straight-line passes from top panels downward.
- Chemical decontamination (4–6 minutes): Iron remover on paint and wheels to dissolve ferrous fallout; rinse until clear.
- Mechanical decontamination (5–10 minutes): Clay bar or synthetic clay with lube; feel for smoothness; re-knead often.
- Drying (3–6 minutes): Use blower plus plush towels; blot, don’t drag; target water traps around mirrors and emblems.
- Surface inspection (3–5 minutes): Panel wipe with isopropyl-alcohol mix; mark deeper defects and RIDS (random isolated deep scratches).
- Paint correction (as needed, 30–90 minutes): One-step polish for light swirls; two-step cut and polish for heavier marring.
- Protection (10–40 minutes apply time): Wax/sealant for short-to-mid protection; ceramic coating for multi-year defense; PPF for rock-chip zones.
| Step | Goal | Typical Tools |
|---|---|---|
| Pre-rinse + Foam | Lift loose grime | Pressure washer, foam cannon |
| Wheels/Tires | Remove brake dust | Wheel brushes, dedicated cleaners |
| Contact Wash | Clean safely | Two buckets, pH-balanced soap, microfiber mitt |
| Decon (Chem + Clay) | Smooth surface | Iron remover, clay + lube |
| Correction | Restore gloss | DA polisher, pads, compounds |
| Protection | Seal finish | Wax, sealant, ceramic, or PPF |
Want this done at your driveway? See how our mobile car detailing team sets up a self-contained wash bay without using your power or water.
How the Process Works (and Why Order Matters)
Detailing order controls risk. You remove easy dirt first, then dissolve bonded contaminants, then refine paint, and finally protect it. This sequence keeps abrasives out of your mitt and ensures coatings or films bond to a clean, defect-free surface for longer-lasting results.
From the first rinse to the final wipe, we manage friction. Less friction equals fewer swirls. And every stage prepares the next.
Friction control 101
- Lubrication: Foam and wash soap reduce drag. Clay lube lets the media glide without grabbing.
- Separation: A dedicated wheel kit prevents brake dust from touching paint. Use grit guards to trap sediment.
- Contact discipline: Start with roof and glass; end with lower panels and rear, which carry the most grime.
Surface chemistry in plain English
- pH-balanced wash soaps (often near neutral) clean without stripping protection prematurely.
- Iron removers target invisible fallout that feels like sandpaper on a plastic bag test.
- Panel wipe (IPA blend) removes polishing oils so coatings and sealants bond properly.
For daily drivers in Mississauga, we often pair a one-step polish with a durable sealant. It’s a high return on time, especially before winter.
Methods, Approaches, and Protection Choices
Use a two-bucket wash with quality microfiber to prevent swirls, then pick protection based on goals: wax for short-term glow, sealant for months of durability, ceramic coatings for multi-year resilience, and PPF for chip-prone areas. Match methods to your driving and climate.
Wash methods that reduce marring
- Two-bucket + grit guards: Minimizes reintroducing grit. Straight-line passes, light pressure.
- Contactless pre-wash: Foam and rinse first; fewer particles reach your mitt.
- Dedicated media: Separate mitts for paint vs. wheels; separate towels for glass.
Decontamination: chemical vs. mechanical
- Chemical decon: Iron/fallout remover and tar remover dissolve bonded particles without scrubbing.
- Mechanical decon: Clay bar or mitt with lube; restores slickness so protection lays flat.
- When to stop: If the surface feels glassy and the clay stays clean after a few passes, you’re ready to dry.
Protection layers, explained
- Wax: Warm glow and water beading for a shorter window; great for show weekends.
- Sealant: Synthetic polymers offer months of durability and strong hydrophobics.
- Ceramic coating: Silica-based layer adds hardness, chemical resistance, and easy-clean behavior for the long term.
- Paint Protection Film (PPF): A clear urethane film that absorbs rock chips and scuffs on bumpers, hoods, and mirrors.
If you’re considering PPF, review pragmatic pointers from industry suppliers like these notes on paint protection film benefits, how PPF can help in rainy seasons, and why it’s useful for daily drivers. For hands-free guidance and precision cutting, our shop handles templated installs daily.
Curious which route fits your car and commute? Our team compares ceramic and PPF trade-offs during a quick paint assessment.
Tools and Resources We Trust
Pro tools reduce risk and speed up results: pressure washer with foam cannon, dedicated wheel brushes, plush microfiber, dual-action (DA) polisher, panel wipe, and quality protection products. The right kit turns a 2-hour chore into a streamlined routine with better, safer outcomes.
- Wash gear: Pressure washer (1.2–1.8 GPM), foam cannon, two buckets with grit guards, pH-balanced soap.
- Wheel kit: Barrel brush, boar’s hair face brush, tire brush, separate buckets.
- Decon set: Iron remover, clay bar or mitt, spray lube.
- Correction: DA polisher, cutting and polishing pads, matching compounds/polishes.
- Protection: Wax/sealant, ceramic coating with applicators, PPF if targeting chip zones.
- Drying: Blower plus 500–1000 GSM towels; focus on crevices that drip later.
See how we stage this kit in a driveway in our mobile detailing primer. For heavy defects, our paint correction guide explains when a one-step vs. two-step is worth it.
Real-World Examples from Mississauga and the GTA
We tailor the same core steps to different needs: commuter cars needing quick salt removal, new vehicles prepping for PPF, and rideshare sedans that must look spotless daily. A consistent process delivers measurable improvements in gloss, wash time, and water beading.
Winter commuter: quick salt recovery
A Unit #3 client arrived after a week of slush. We pre-rinsed thoroughly, foamed, decontaminated with iron remover, then performed a one-step polish and sealant. Beading returned immediately and maintenance washes dropped to around 15 minutes even in cold snaps.
New car, day-one protection
For a brand-new SUV, we ran a light polish to remove transport haze, then installed PPF on the front clip and applied a ceramic coating to the rest. The customer reported easier bug removal and fewer wash-induced swirls over the next several months.
Rideshare refresh
A rideshare operator requested a fast-turn exterior revamp between airport runs. We used a contactless-focused wash, clay as needed, and a spray sealant. The gloss bump was obvious curbside, and the hydrophobics made weekly washes noticeably faster.
Thinking bigger than the exterior? Explore our full interior detailing overview and this interior deep clean checklist for a total-vehicle reset.
Mobile vs In‑Shop: Which Is Best for You?
Choose mobile when convenience matters and your driveway allows safe water management. Choose in‑shop for complex paint correction, ceramic coating cures, and PPF installs in a controlled, dust-minimized space. Both deliver pro results when the same repeatable process is used.
| Scenario | Mobile Detailing | In‑Shop Detailing |
|---|---|---|
| Routine maintenance wash | Ideal at home or office | Also available |
| Winter salt removal | Fast response driveway service | Heated bay speeds drying |
| Paint correction (multi-stage) | Possible, but weather-limited | Best in controlled environment |
| Ceramic coating cure | Works with mild temps | Optimal for controlled cure |
| PPF installation | Not typical on-site | Preferred for dust control |
Our mobile team brings power, water, steam, and extraction. For engine bays or complex polishing, see our engine detailing steps and in‑shop advantages.
Best Practices the Pros Use
Work top to bottom, use quality microfiber, separate wheel tools from paint tools, and never skip decontamination before polishing or protection. In cold weather, extend dwell times slightly and prioritize blow-drying crevices to prevent water spotting.
Wash smarter
- Foam first, then touch. Let chemistry do the heavy lifting.
- Use straight-line passes; circular motions show circular swirls.
- Refresh rinse water often; grit settles quickly.
Polish with a plan
- Test spot one panel to pick pad and polish. Don’t guess across the whole car.
- Keep pads clean; use a brush or compressed air every couple of sections.
- Work small areas (about 2’ x 2’) for consistency and heat control.
Protect for your reality
- High-mile drivers: favor ceramic coatings or PPF on the front clip.
- Garage queens: wax or sealant may be enough with quarterly refreshes.
- All vehicles: refresh protection when beading weakens and drying takes longer.
Have plastic trim that’s turned gray? Our team performs exterior plastic restoration to revive faded bumpers and moldings.
Visual Guide: Decon and Coating
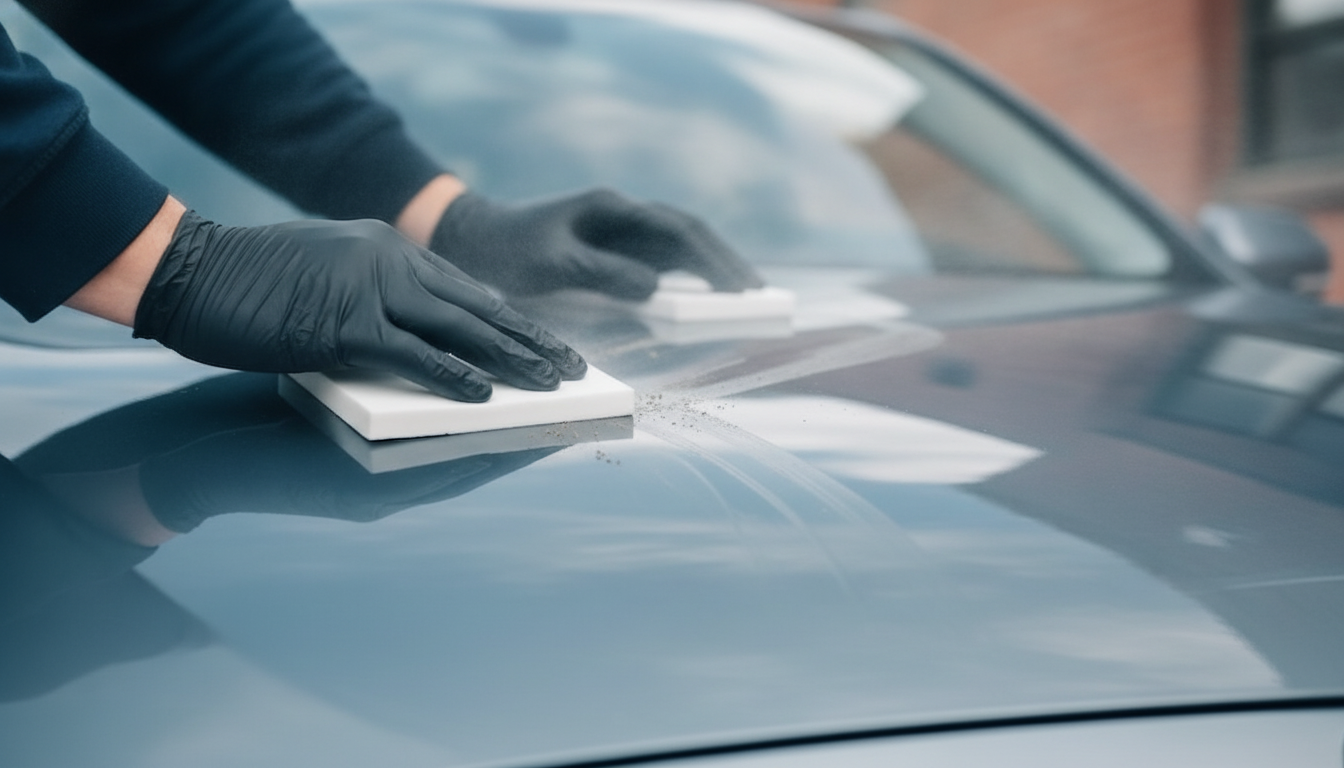
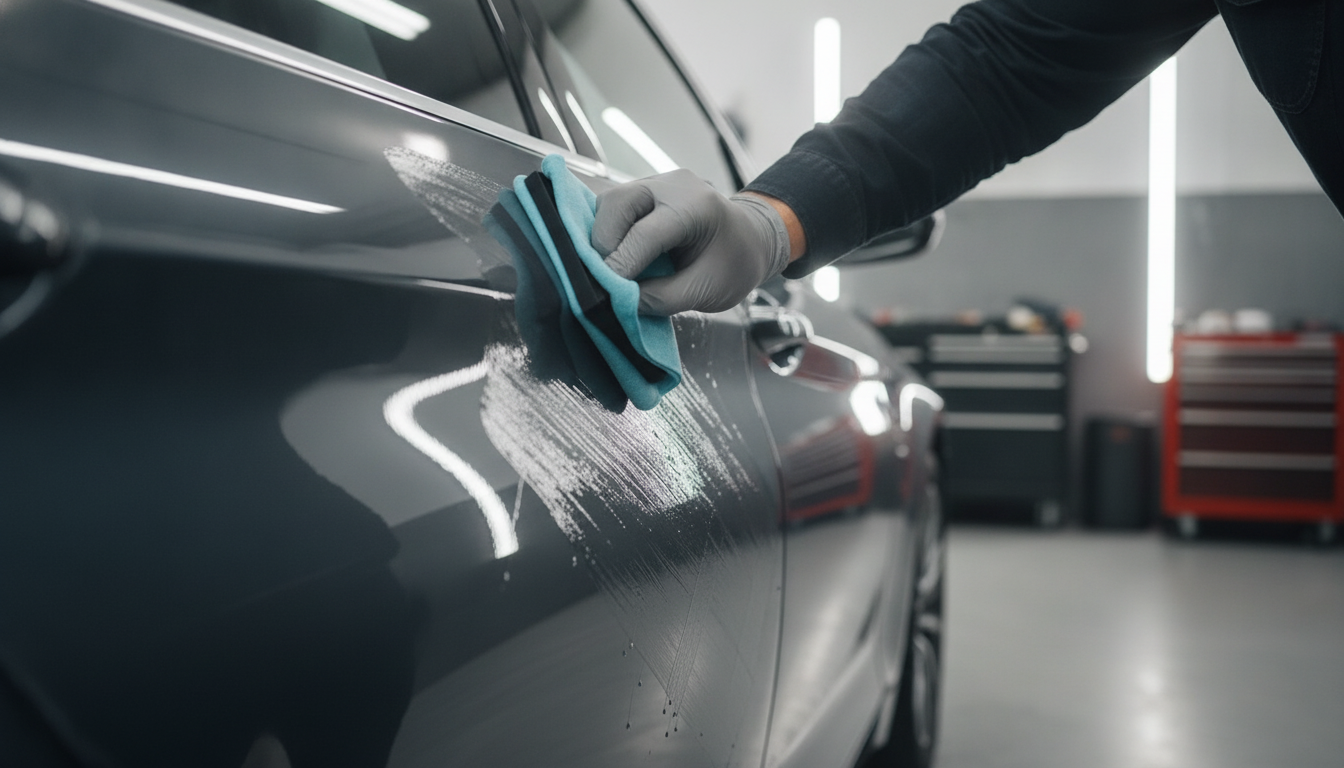
Decontamination smooths paint so protection bonds uniformly. Ceramic coating then locks in gloss and hydrophobics for easy cleaning. See the details below in two close-up examples: clay bar decon and crosshatch coating application under bright lights.
Local Tips for Unit #3 Drivers
In Unit #3, Mississauga, winter salt and spring tree sap are the top threats. Plan faster rinses after storms, schedule decon before summer, and consider PPF for front clips if you commute. A simple seasonal plan keeps maintenance predictable and results consistent.
Local considerations for Unit #3
- Time your washes after a lap through the Mississauga Chinese Centre area when roads are slushy; a 5–7 minute rinse prevents heavy salt drying on lower doors.
- Early spring in Westacres Park can mean sticky pollen; a quick pre-wash and clay in April–May helps coatings lay smoother.
- For driveway sessions, our mobile unit manages water and power on-site, so you get a controlled wash even during busy weekdays.
Common Mistakes to Avoid
Avoid washing in direct sun, skipping the pre-wash, mixing wheel tools with paint tools, and applying protection over contaminants. Each mistake raises the odds of micro-scratches, water spots, or premature coating failure—costing you more time later.
- Sun and heat: Work in shade; hot panels reduce lubrication and cause soap to dry fast.
- Dirty towels: Wash and separate microfiber by task; retire worn towels to wheels only.
- Skipping panel wipe: Oils can block coatings and sealants from bonding fully.
- Over-polishing: Only remove as much clear as needed; focus on the worst defects.
If you’re unsure whether correction is necessary, our paint correction explainer shows when a single-stage is enough.
Want Pro Results Without the Guesswork?
Get a driveway-perfect exterior detail without hookups. Our mobile team brings power, water, and pro tools to you. Prefer a controlled bay for coatings or PPF? Book our Mississauga shop. Either way, we follow the same risk-reducing process for brilliant results.
Book a spot with our certified, insured technicians. Mobile or in‑shop, we tailor the steps to your schedule and your car’s condition.
Frequently Asked Questions
These quick answers cover the questions we hear most about exterior detailing steps, timing, and protection choices. Use them to plan your next maintenance wash or a full correction-and-protect service.
How often should I decontaminate (iron remover and clay)?
Most daily drivers benefit from chemical decon every 3–6 months and claying 1–2 times per year. If the paint feels rough after washing or beading weakens, it’s time. Always reapply protection after claying.
What’s the safest wash method to prevent swirls?
Use a two-bucket wash with grit guards, quality microfiber, and a foam pre-wash. Wash top to bottom in straight lines and keep separate tools for wheels and paint. Dry with a blower and plush towels to avoid dragging.
Do I need paint correction before ceramic coating?
Light polishing is strongly recommended. Coatings lock in whatever the surface looks like. A one-step polish boosts clarity and improves bonding, so you get better gloss and easier maintenance.
Where should I add PPF first?
Front-impact zones—front bumper, hood leading edge, mirror caps, and rocker panels—see the most chips. If you commute on highways, protecting these areas delivers high value with minimal visual change.
Key Takeaways
Exterior detailing success comes from sequence: clean, decon, correct, protect. Use the right tools, work top to bottom, keep media separate, and choose protection that fits your driving. The result is faster washes, better gloss, and longer-lasting protection.
- Follow a repeatable order to control risk and improve results.
- Decon is the bridge between washing and protection—don’t skip it.
- Pick protection for your reality: wax, sealant, ceramic, or PPF.
- Mobile for convenience; in‑shop for advanced correction, coatings, and PPF.
Conclusion
A safe, structured exterior routine keeps your car looking newer for longer. By washing, decontaminating, correcting, and protecting in order, you’ll reduce swirls, speed up maintenance, and preserve value—season after season in Mississauga.
Ready for a professional reset? Our team can complete the entire sequence on your driveway or at our Mississauga shop. For next steps, review our exterior detailing service and exterior detailing pro options, then pair with interior services if you want a full transformation.