Engine detailing is the careful cleaning, degreasing, drying, and dressing of components in your engine bay to restore a clean, factory-like look without harming electronics. A safe, pro-level workflow takes about 60–120 minutes for most cars. This engine detailing process step by step helps Mississauga drivers protect resale value and make routine maintenance easier.
By Prime Auto Wash • Last updated: 2026-06-29
Introduction
Engine detailing removes grease, dust, and grime from under-hood surfaces using a controlled sequence: preparation, masking, degreasing, agitation, rinsing, drying, and dressing. Done right, it improves visibility for inspections, reduces odors, and keeps plastics conditioned. Below, we explain the engine detailing process step by step so you can achieve pro results.
Why detail your engine bay at all? A clean bay makes leaks easier to spot, prevents grit from migrating into service points, and simply looks better at handoff or sale. In our Mississauga shop and across our GTA mobile routes, we follow a consistent, electronics-safe workflow that mirrors dealership-level best practice.
In this guide you’ll learn:
- The essential prep and masking that protect sensitive connectors
- Exact steps for degreasing, agitation, rinsing, drying, and dressing
- Tools that speed things up, from steam to soft brushes
- Common mistakes to avoid that can trigger check-engine lights
- When to call a certified pro for flood restoration or heavy contamination
Quick Summary
For most vehicles, budget 60–120 minutes. Mask sensitive parts, apply a citrus or water-based degreaser (diluted 4:1–10:1), agitate with soft brushes, low-pressure rinse, blow-dry, then apply a light, non-greasy dressing. Verify idle, clear codes if present, and schedule follow-up protection.
- Total time: typically 1–2 hours, including setup and final checks.
- Water pressure: gentle, typically under 900 psi with a fan tip, or use a hose/pressurized sprayer.
- Drying: combined towel + blower; expect 10–20 minutes depending on ambient temps.
- Dressing: satin finish for plastics/rubber; avoid greasy silicone near belts.
Local considerations for Unit #3
- Road salt from Mississauga winters accumulates on subframes and splash shields—plan an undercarriage rinse before bay work, especially if you park near Westacres Park where roads can stay slushy.
- Weekend markets by the Mississauga Chinese Centre bring traffic and dust; quick engine-bay touch-ups between services help rideshare vehicles stay presentable.
- For mobile appointments in Unit #3, our self-contained unit brings water and power—no hose or outlet needed—which keeps nearby surfaces dry and protected.
Before You Start (Prerequisites)
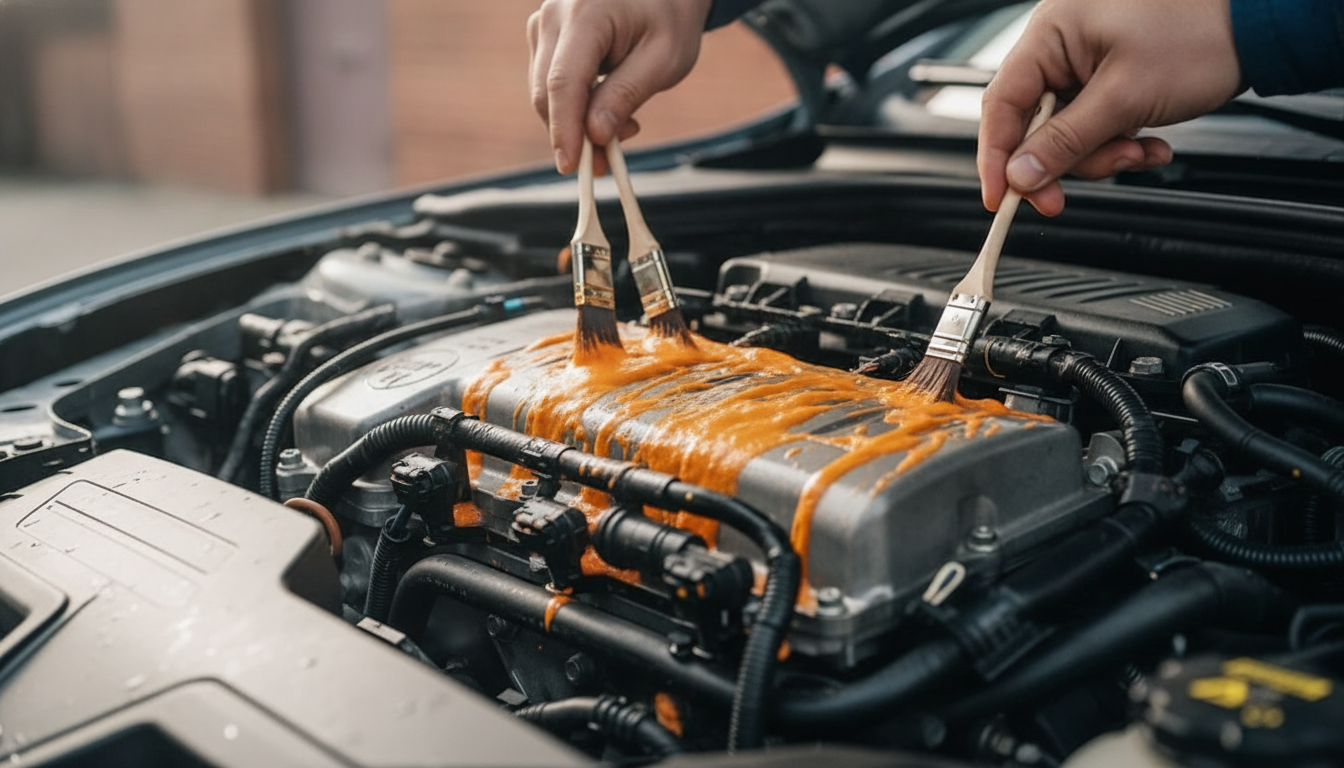
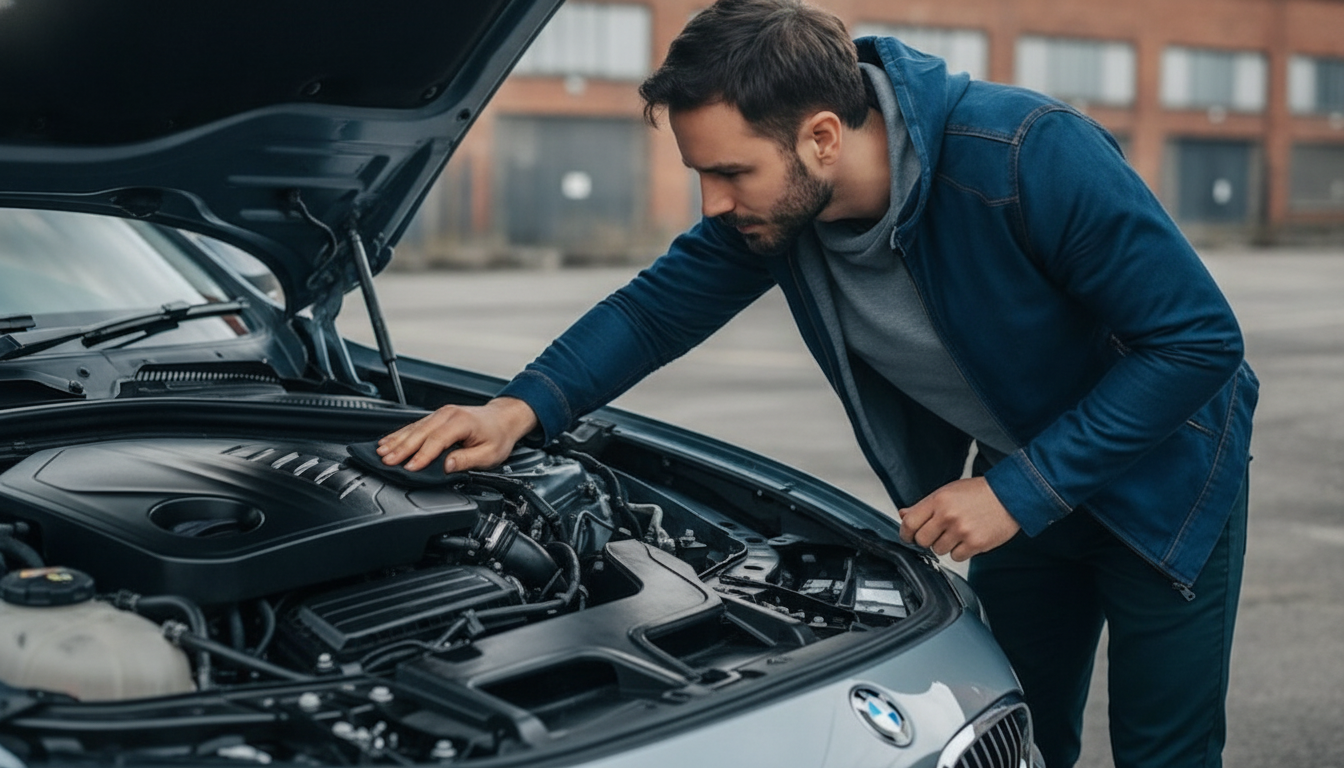
Start with a cool engine, parking in shade or a ventilated bay. Gather a water-based degreaser, soft brushes, towels, plastic bags/tape for masking, a blower, and a light, non-greasy dressing. Disconnect or cover the battery’s negative terminal if needed, and confirm all caps are tight.
Preparation prevents headaches. Most check-engine lights after DIY cleaning come from wet connectors or sensors. Plan 10 minutes for masking and 5 minutes to review the bay layout. Typical pro dilution for a citrus degreaser ranges from 4:1 for heavy grease to 10:1 for maintenance cleans. Steam at around 212°F helps loosen buildup in tight areas with less runoff.
Pre-clean checklist
- Cool engine (comfortable to touch); avoid thermal shock on plastic covers.
- Cover open filters/short-ram intakes; check oil, coolant, and brake caps are snug.
- Mask alternator, exposed fuse boxes, and aftermarket electronics.
- Use soft nylon brushes; avoid brass/steel that can mar plastics.
- Select a water-based degreaser; avoid strong solvents around painted surfaces.
- Stage two buckets: one rinse bucket for brushes, one for clean water.
At Prime Auto Wash, our mobile teams carry steam, compressed air, and controlled sprayers, which reduce overspray in condo or office garages. That control shortens dry time by 20–30% compared with garden-hose rinsing and helps prevent drips into coil packs.
Step-by-Step Engine Detailing Process
Follow these ten steps: inspect, pre-rinse, mask, degrease, agitate, targeted rinse, steam or spot-clean, blow-dry, towel and inspect, then dress and finalize. Work top-down, keep pressure low, and verify idle after. This process delivers consistent, show-ready results without risking electronics.
1) Initial inspection and dry debris removal
- Open the hood, support safely, and pull cowl screens if removable.
- Use compressed air or a soft detailing brush to lift loose dust and leaf litter.
- Log any seepage at valve covers or power steering—cleaning will reveal fresh leaks later.
Expect 5–8 minutes here. Removing loose debris first prevents smearing grime into crevices.
2) Gentle pre-rinse (optional)
- Use a hose or pressure washer on a wide fan pattern, kept at a distance.
- Limit pressure; treat this as a dust knock-down, not a full rinse.
- Avoid aiming directly at coil boots, alternators, and aftermarket HID ballasts.
If you prefer dry methods, skip this and rely on steam plus damp towels.
3) Mask sensitive components
- Bag and tape: alternator, exposed filters, open relays, and loose connectors.
- Cover the battery or disconnect negative if access is tight.
- Set a timer: 10 minutes spent masking saves troubleshooting later.
4) Apply degreaser with correct dilution
- Use a water-based or citrus degreaser at 4:1 for heavy grease; 8–10:1 for maintenance.
- Mist panels evenly; allow 2–4 minutes dwell time—don’t let it dry on hot metal.
- Work in sections to control dwell and avoid spotting on painted fenders.
5) Agitate with soft tools
- Nylon brushes for textured plastics; boar’s-hair for badges and tight edges.
- Microfiber swabs or detailing sticks for seams and cap recesses.
- Reapply light sprays of degreaser as foam carries away grime.
6) Targeted low-pressure rinse
- Rinse from back to front, top to bottom, using a gentle stream.
- Lift pooled water with a towel to prevent streaks or drip lines.
- Check masked areas; if water gets under a bag, pause and dry before proceeding.
7) Steam or spot-clean
- Use steam for tight zones (throttle linkages, bracket junctions).
- Hold the nozzle back to avoid lifting decals.
- Steam reduces chemical use and shortens dry time by several minutes.
8) Blow-dry thoroughly
- Use a dedicated blower or compressed air; move water from seams outward.
- Expect 10–15 minutes depending on ambient temperature and humidity.
- Wipe residual moisture with plush, clean microfiber towels.
9) Inspect and wipe-down
- Open/close the hood to shake out hidden drips, then inspect from both sides.
- Address missed corners with a damp towel or a quick shot of steam.
- Confirm no warning lights; if you covered the battery, remove masking now.
10) Dress plastics and rubber
- Apply a non-greasy, satin-finish dressing to plastics and hoses.
- Avoid glossy silicone on belts or pulleys.
- After 5–10 minutes of curing, buff lightly for an even factory sheen.
DIY vs. professional: at-a-glance
| Factor | DIY Engine Detailing | Prime Auto Wash (Pro) |
|---|---|---|
| Time | 2–3 hours learning + setup | ~60–120 minutes, streamlined |
| Tools | Basic sprayers, brushes, towels | Steam, compressed air, extractors, precision sprayers |
| Risk | Higher if masking is missed | Low—trained, insured, electronics-safe process |
| Finish | Good with care | Consistent, photo-ready factory look |
| Add-ons | Limited | Pair with interior/exterior detailing, ceramic coating, or PPF |
Soft CTA: Prefer pro help? Our mobile teams service driveways and office garages across the GTA, or visit our Mississauga shop for controlled-environment results. See what to expect in our mobile detailing guide.
Troubleshooting and Safety
If a warning light appears after cleaning, dry connectors, check coil boots, and verify fuses. Persistent misfire? Allow more dry time, then scan for codes. Avoid soaking alternators, sensors, and intakes. Always work on a cool engine and keep chemical dwell times short.
Common issues and fixes
- Rough idle after wash: Moisture in coil boots. Remove boots, dry with air, and apply dielectric grease sparingly.
- Streaky plastics: Dressing over moisture. Re-dry and reapply a thin coat; buff after 5 minutes.
- White residue: Degreaser dried on hot aluminum. Re-wet, agitate gently, and rinse; follow with a mild APC at 10:1.
- Water ingress in fuse box: Pull cover, blot dry, and air out; confirm no corrosion before reseating.
Safety guardrails
- Ventilation matters—avoid enclosed spaces without airflow.
- Use nitrile gloves and eye protection; degreasers can be alkaline.
- Never spray directly into alternators or throttle bodies.
- Keep electrical masking intact until drying is complete.
We rarely see persistent codes if the bay is fully dry. A brief, 5–10-minute idle with the hood open helps evaporate trapped moisture, especially around harness channels.
Advanced Tips (Pro Techniques)
For show-level results, combine steam for tight zones with controlled rinsing elsewhere, then finish with heat-cycling and a satin dressing. Polish painted strut towers lightly, and condition rubber weatherstripping to prevent squeaks and swelling.
- Steam first in tight areas: Hit seams, badges, and cap recesses so you use less chemical later.
- Paint touch-ups: Spot-polish strut towers and rad supports with a finishing polish and a 1–2 inch pad.
- Hardware brightening: A light metal polish on brackets (not fasteners with torque specs) adds clarity.
- Condition seals: Treat hood bumpers and weatherstripping to reduce creaks after drying.
- Heat-cycle: After drying, idle 10 minutes; warmth helps dressings set and evaporates hidden moisture.
Pair the bay detail with exterior and interior upgrades like clay-bar and paint sealant so the whole car looks cohesive when the hood opens.
Tools and Resources
You need a water-based degreaser, soft brushes, microfiber towels, masking supplies, steam or compressed air, and a non-greasy dressing. Optional: a low-pressure washer, dedicated blower, and detailing swabs for seams. Choose tools that control overspray and speed up drying.
Essential tools
- Water-based or citrus degreaser (dilution 4:1–10:1)
- Soft nylon and boar’s-hair brushes
- Microfiber towels and detailing swabs
- Masking bags and painter’s tape
- Steam cleaner or compressed air for drying
- Hose/low-pressure washer with a wide fan tip
- Satin-finish plastic/rubber dressing
For a fuller vehicle refresh, explore our interior/exterior detailing services and guidance on how often to detail in Canada so you can set a realistic upkeep cadence.
If you’re curious how other services document processes, a general step-by-step maintenance example shows how technicians standardize sequences, and this first oil change series demonstrates staged inspections. For a different trade’s view on pro vs. DIY finish quality, see this professional vs DIY comparison.
Mini Case Studies (Local Examples)
Real-world engine detailing often involves added constraints: rideshare turnaround, winter salt, or past flooding. Here are quick snapshots from our Mississauga and GTA routes showing how process discipline adapts to different contamination and timelines.
Mississauga commuter car with winter salt
- Problem: Salt dust and chalky residue across plastics.
- Approach: Undercarriage rinse first, then 8:1 citrus degreaser and steam on tight zones.
- Outcome: 75 minutes bay-to-bay; satin plastics and clear caps for easy fluid checks.
Uber vehicle between airport runs
- Problem: Appearance at pickup matters; limited downtime.
- Approach: Dry method + steam only, no open rinsing in garage; blower-assisted dry.
- Outcome: 55 minutes; no drips on the shop floor and zero warning lights.
Flood restoration follow-up
- Problem: Previous water ingress, light corrosion on brackets.
- Approach: Targeted neutralization, corrosion assessment, careful steam and drying.
- Outcome: Cleaned bay with documented photos for the owner’s service records.
When a bay shows sticky contaminants (tree sap overspray or coolant seep), we combine this engine process with targeted treatments covered in our exterior plastic restoration overview.
Frequently Asked Questions
Most engine bays can be cleaned safely with a water-based process, provided you protect sensitive parts and dry thoroughly. Below are direct answers to common questions GTA drivers ask our team before booking mobile or in-shop service.
Is engine detailing safe for modern cars?
Yes—when done with low pressure, short dwell times, and full drying. Mask alternators, coil packs, and exposed filters. Use a water-based degreaser and avoid blasting sensors. Most issues stem from trapped moisture, which is why we blow-dry and heat-cycle.
How often should I detail the engine bay?
For daily drivers in the GTA, aim for every 6–12 months. Winter driving, gravel roads, or oil seepage may shorten the interval. A quick wipe-down after oil changes keeps buildup from returning between full details.
Can I wash the engine at a car wash?
Avoid blasting the bay with high-pressure wands. Touchless rinses can force water into connectors. If you must rinse on the road, keep the lance far back and avoid direct hits to electronics—then towel and blow-dry as soon as possible.
What dressing finish looks best?
Most owners prefer a natural, satin sheen that resembles a new engine cover. Glossy silicone can attract dust and may sling onto belts. We use non-greasy dressings that cure evenly and resist dust.
Conclusion
A clean engine bay looks professional, reveals issues early, and makes basic service easier. Follow the preparation, degrease, rinse, dry, and dress sequence, or book a certified team to complete it efficiently in about 60–120 minutes with minimal risk.
Key takeaways
- Work cool and mask thoroughly—electronics first, cosmetics second.
- Use water-based chemistry and soft tools; keep pressure low.
- Dry completely; heat-cycle to clear trapped moisture.
- Finish with a satin dressing for a clean, factory look.
Next steps
- Set your maintenance cadence with our detailing frequency guide.
- Combine an engine detail with interior/exterior services for a complete refresh.
- Prefer driveway service? Review our mobile at-home/office process.
Ready to see a factory-clean bay? Book a visit to our Mississauga shop or schedule mobile detailing anywhere in the GTA. We’ll meet you curbside, in the driveway, or at your office garage—whichever is easiest.
Additional Resources
Pair engine bay cleaning with whole-vehicle care: schedule exterior decontamination, interior sanitization, and protective coatings. A consistent upkeep rhythm keeps your car easier to service and faster to sell.
- Exterior decontamination before bay work reduces grit transfer.
- Interior filter changes help keep dust out of cowl intakes.
- Document before/after photos for service records and resale.