Paint correction swirl marks, when to fix and when to hire a pro
If you see fine circular scratches or a hazy web of reflections on your paint, this checklist will help you decide whether to attempt a DIY polish, schedule professional paint correction, or add protection after correction. The steps below walk you through a quick assessment in sunlight, a safe test patch and clear coat check, decision criteria for DIY versus pro work, the professional polishing workflow, and the protections that follow. Where useful, you will find safety stop points that tell you when to pause and call a pro.
What paint correction does and what swirl marks are
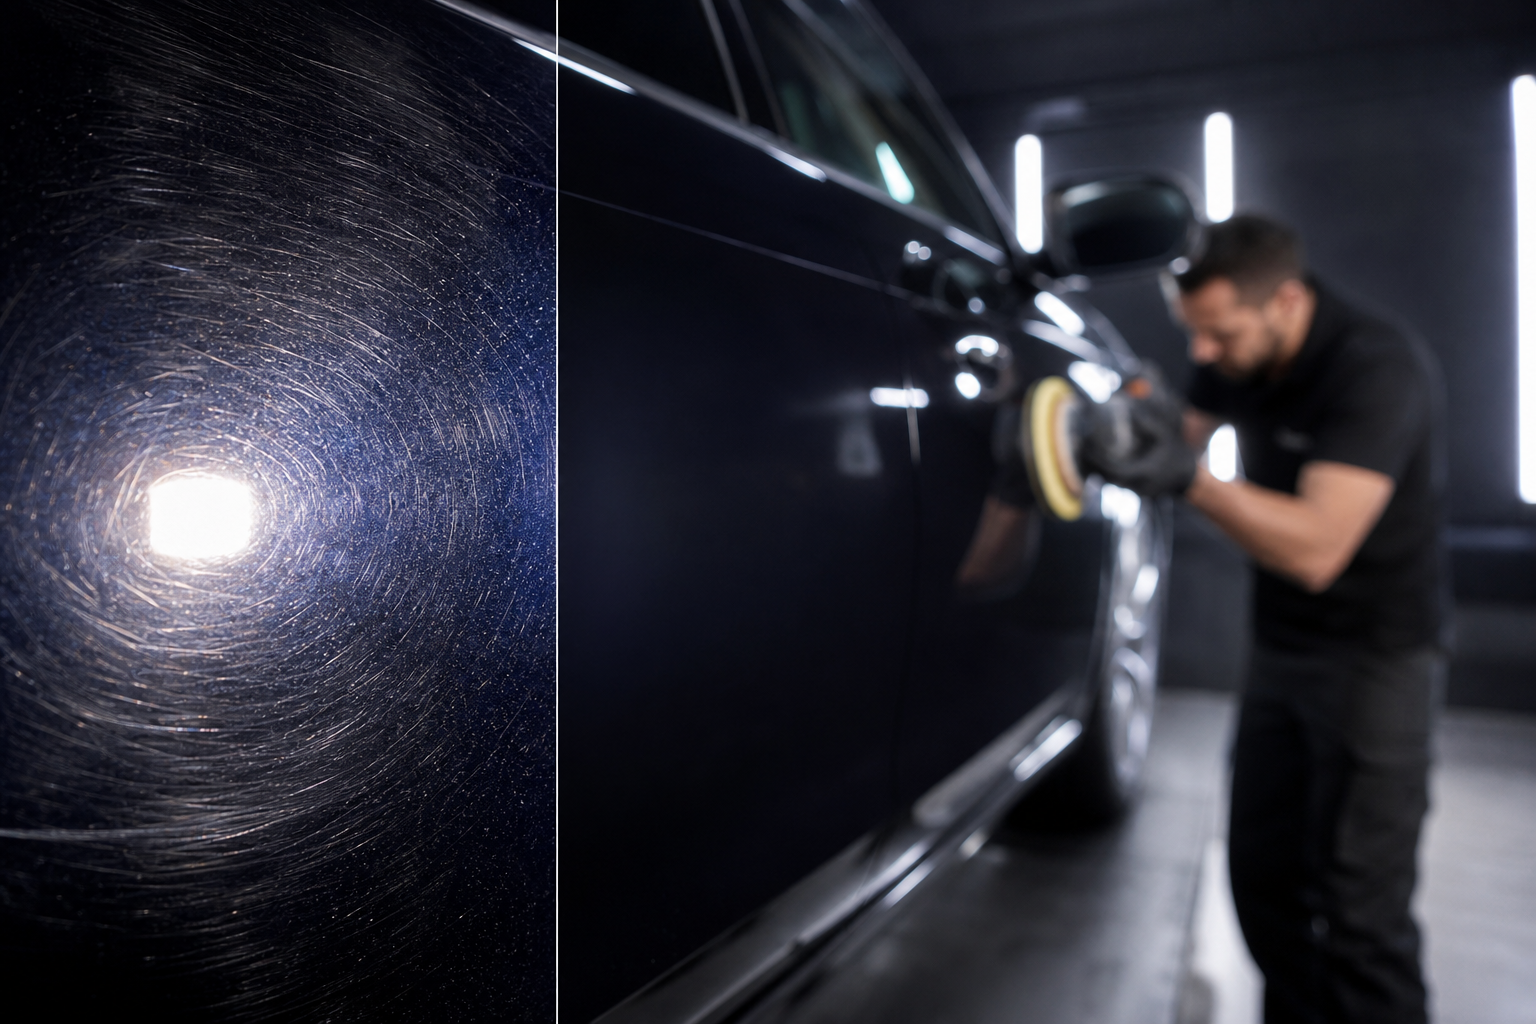
Swirl marks are micro-scratches in the vehicle clear coat that catch light and appear as circular or spiderweb patterns, usually after improper washing or drying. Paint correction is a measured, machine-applied polishing process that levels the clear coat by removing a microscopic amount of material so defects are eliminated rather than hidden. The process uses a staged approach of cutting and finishing polishes to restore gloss while protecting the factory finish, not repainting it. For technical background on how machine polishing removes swirls and other defects, see the paint correction guide at SE Auto Products and a plain language explanation at Mobile Detailing Expert.
Step 1: Assess swirl mark severity and decide if correction is appropriate
Do a three minute inspection before touching polish. These simple checks separate contamination, surface scuffs, and deeper damage.
- Sunlight test — Park in direct sunlight and view the panel from different angles. Light scattering that follows a circular pattern indicates swirls in the clear coat. If you see a single straight line or a gouge, the scratch may be deeper.
- Wash and clay check — Fully wash the area with pH-balanced shampoo and run a quick clay or decontamination wipe across the surface. If marks are gone, they were contaminants rather than scratches.
- Fingernail test — Gently drag a fingernail across a mark. If the nail catches, the defect is likely deeper than the clear coat alone and may need filler or repainting.
- Document visible area — Photograph the panel in sunlight and shade so you can show a detailer what you see.
If the defect is a network of fine swirls, correction is usually appropriate. If you find deep gouges, cracked or flaking clear coat, or paint that reveals base colour, stop and consult a professional. Many shop guides note that not every defect should be chased to perfect removal because doing so can risk excessive clear coat removal and damage to factory finishes. Point Auto explains why a measured approach and safety margins often preserve long-term paint health.
Stop points for non-correction
- Visible substrate, primer, or base coat under the clear coat.
- Clear coat that is blistered, bubbling, or flaking.
- Previously badly repainted or thin finishes where large amounts of material would need to be removed.
Step 2: Perform a safe test patch and check clear coat thickness
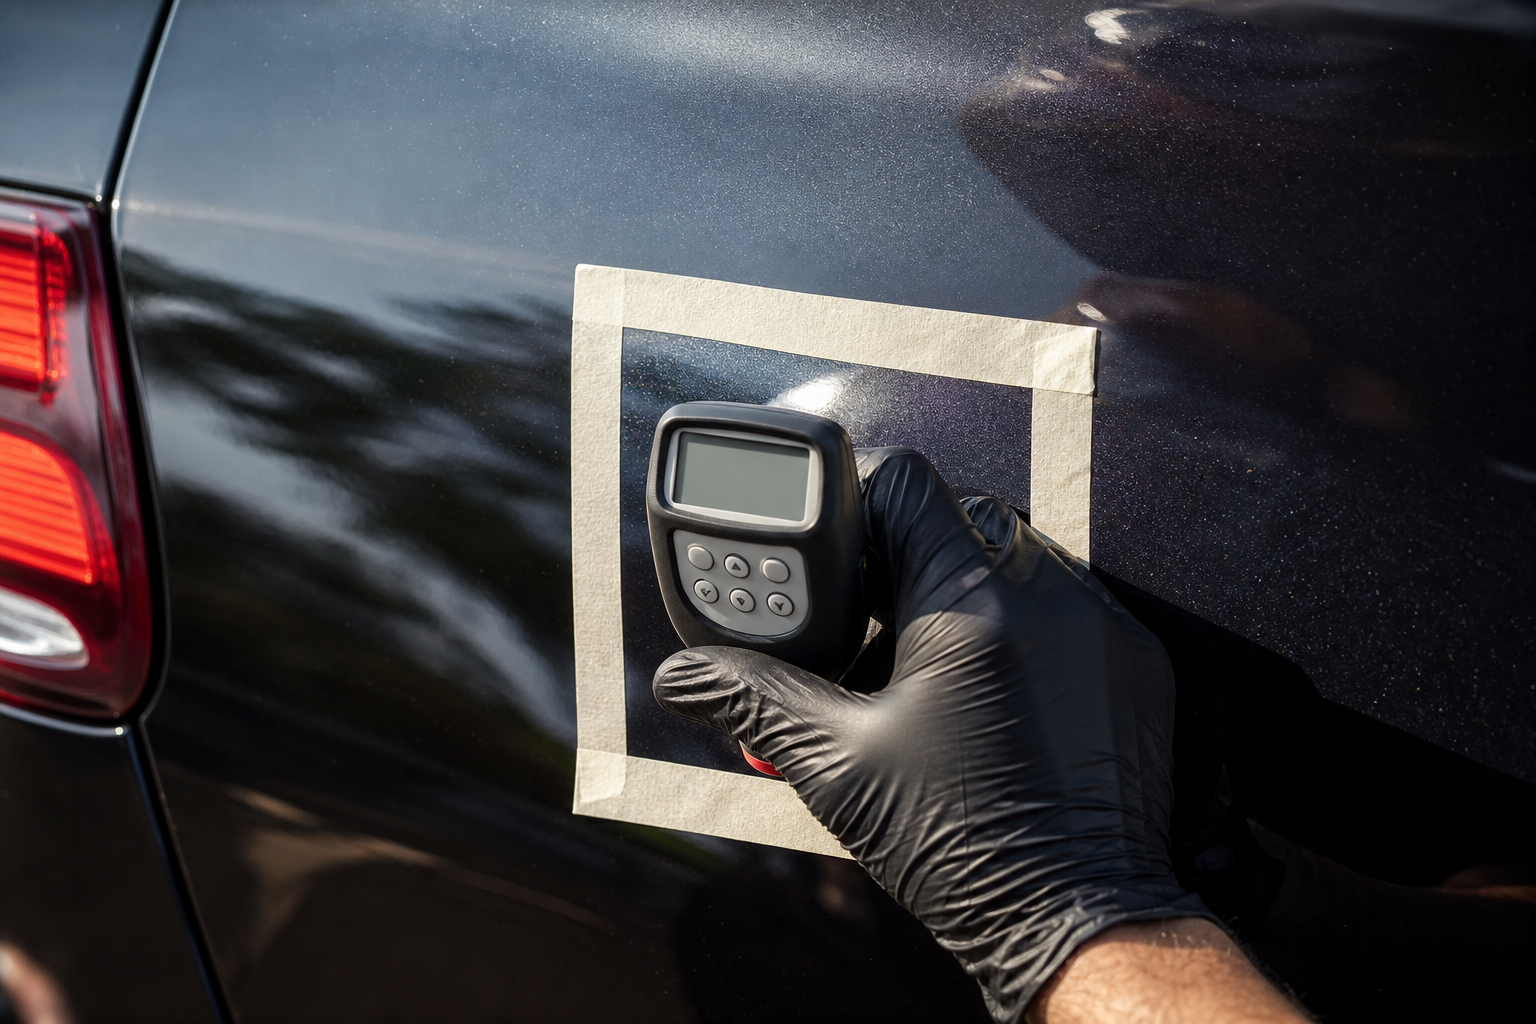
Before committing to whole-panel correction, do a controlled test patch. Pick a small, inconspicuous area and perform one pass with a mild polish and a soft pad. Inspect the result and measure the clear coat if possible. Professional detailers use a paint thickness gauge to track material removed and prevent over-polishing, and you should ask for the same evidence before a full correction. Authoritative guides describe the test patch and the layered approach to reduce risk while judging achievable improvement.
- Test patch method — Wash and decontaminate the panel, tape off the area, start with a one-pass dual-action polish on low speed and inspect. If results are promising, a second, more targeted pass can be tried on an adjacent square inch.
- Clear coat gauge — If you or the shop has a thickness gauge, confirm the starting thickness and plan to retain a safe margin. Shops will often aim for measurable correction without removing too much factory clear coat.
- When to stop — If the test patch requires aggressive compounding to show any improvement, stop and consult a pro. Aggressive material removal raises the risk of repair-level work.
If you prefer a mobile or on-site option, a fully equipped mobile unit can perform test patches and light correction, but multi-stage correction and strict thickness monitoring are more reliable in a controlled shop environment. Prime Auto Wash operates a self-contained mobile unit and offers in-shop service at its Mississauga facility so you can compare both approaches before booking.
Step 3: DIY polishing versus hiring a professional — decision criteria
Choose DIY polishing when defects are light, you have a dual-action polisher and correct pads and polishes, and you accept moderate results with low risk. Hire a professional when defects are moderate or deeper, you lack experience with machine polishers, the vehicle has thin or older clear coat, or you plan to pair correction with protective coatings such as ceramic coating or paint protection film. Beginner guides advise that a dual-action polisher is safer than a rotary, but even so a novice can remove too much clear coat if they use aggressive pads and compounds incorrectly.
- When DIY is reasonable — Light swirl marks from washing, recent minor marring, and when you plan a single light polish followed by sealant.
- When to hire a pro — Extensive swirls across large panels, mixed defect depths, or when you want a guaranteed prep before ceramic coating or PPF.
- Mobile vs shop — Mobile service is convenient for light correction and maintenance. For multi-stage correction, long sessions, or jobs requiring precise thickness monitoring, an in-shop environment is safer.
If you are weighing options, Prime Auto Wash provides an overview of fine scratch removal and the difference between DIY approaches and professional paint correction to help you decide if a shop visit is needed. See their fine scratch removal resource for details.
Step 4: Professional correction workflow and what to expect
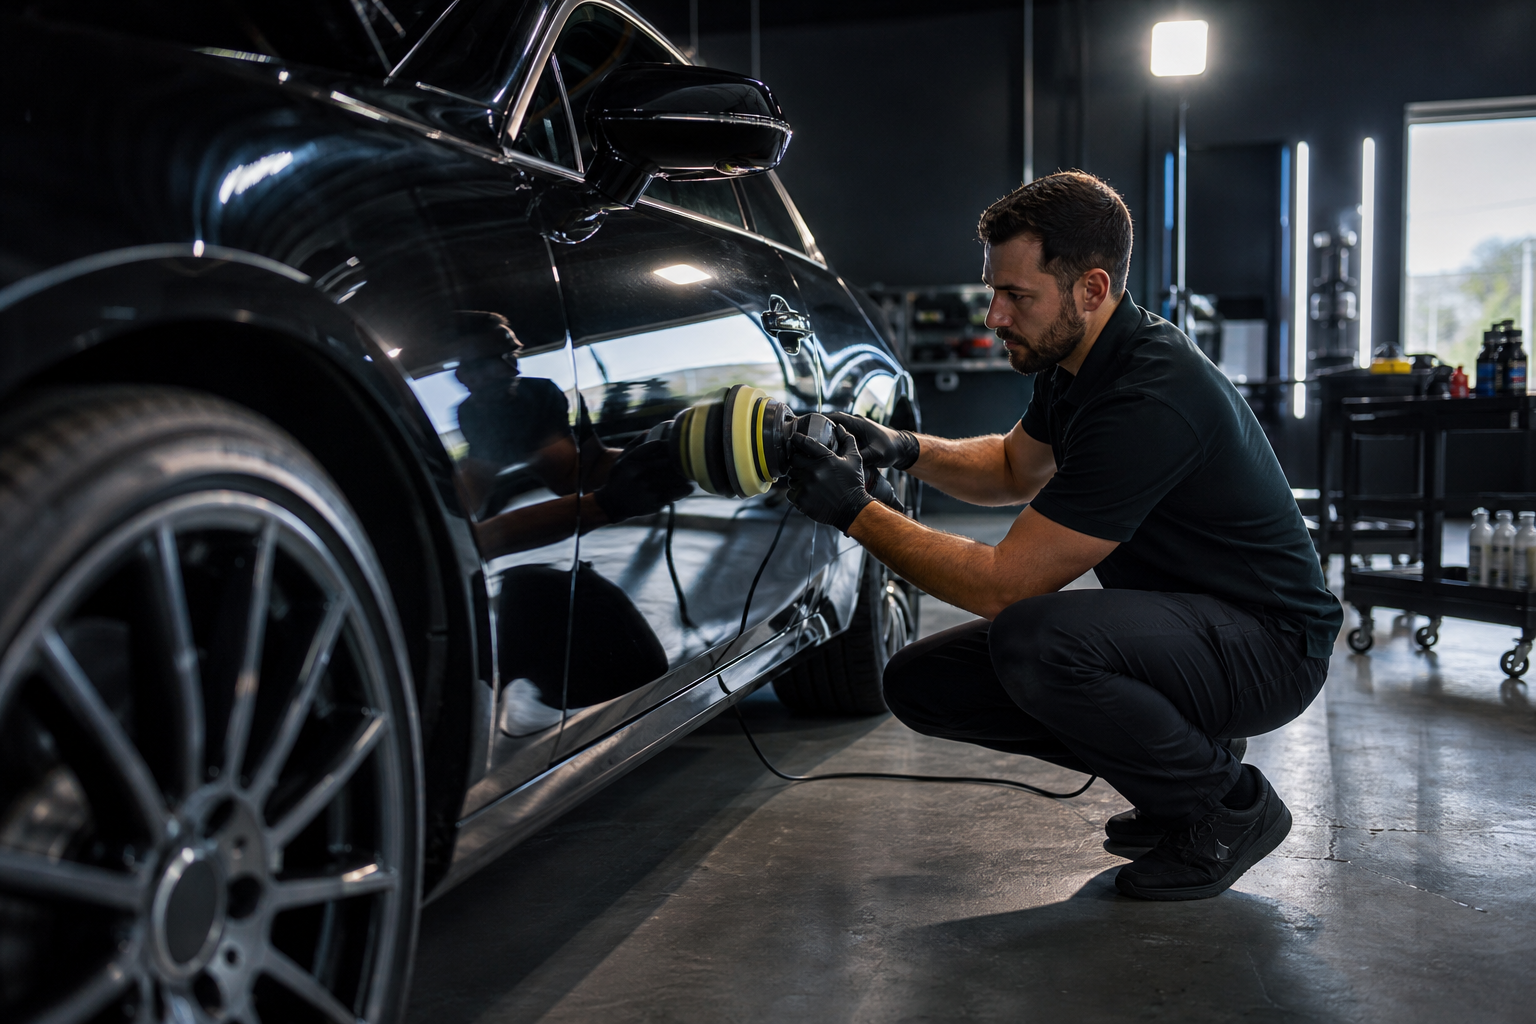
Professional paint correction follows a progression often described as cut, polish, and refine. A firm cutting compound on the correct pad removes the defect, then a finishing polish and soft pad restore clarity. Pros measure results visually and sometimes with gloss meters, and many choose partial correction targets such as 70 to 90 percent to preserve clear coat thickness while delivering excellent gloss. Parks Car Care, SE Auto Products, and Clay & Coat describe this staged workflow and explain the limits pros observe to protect the factory finish.
- Cutting — A controlled abrasive step with measured pressure and short passes.
- Polishing — A milder polish to refine micro-haze and build depth and reflection.
- Refining and inspection — Final passes, decontamination, and visual checks under varied light angles.
- Timing — Expect a single panel correction to take from under an hour for light work to several hours for multi-stage correction. Full-car correction ranges from a day to multiple days, depending on severity and protection add-ons.
Good shops will document pre- and post-photos, measure thickness if requested, and advise a protection plan after correction.
Step 5: Post-correction protection: sealant, ceramic coating, or PPF
A protective layer immediately after correction protects the freshly exposed paint and reduces the chance of new swirl marks. A polymer sealant delivers quick hydrophobic protection and is cost effective. Ceramic coatings provide a more durable, chemically resistant surface that helps repel contaminants and makes washing easier. Paint protection film is a physical, sacrificial layer best used on high impact areas or for owners who want maximum stone chip and abrasion resistance. Chemical Guys and SE Auto Products recommend applying protection right after polishing to lock in the finish.
- Sealant — Fast application, good initial gloss, periodic renewal.
- Ceramic coating — Longer lasting chemical resistance, easier maintenance, applied by trained technicians.
- Paint protection film — Physical barrier for vulnerable panels, often paired with ceramic coating on exposed areas.
In the GTA, winter salt and urban parking increase contaminant exposure, so stronger protection after correction is often worth the investment. Prime Auto Wash lists ceramic coating and PPF among its services and can perform mobile sealant work or in-shop protection applications depending on the package chosen.
How to choose a trusted local detailer in Mississauga, Brampton, and Toronto
Use this short question checklist when you call or message a detailer. Ask for written answers and pre-service photos where possible.
- Do you perform a test patch and will you measure paint thickness with a gauge?
- Can you show before and after photos of similar correction jobs?
- Do you offer in-shop correction and a mobile option, and which do you recommend for my vehicle?
- Are your detailers certified and is the business insured for on-site work?
- What protection do you recommend after correction, and is it included or optional?
- Do you provide a written scope, expected outcomes, and any warranty or maintenance guidance?
Prime Auto Wash provides both a fully self-contained mobile unit and an in-shop facility in Mississauga, and the business lists ceramic coating and PPF among its services, so you can request both a test patch and a protection plan when you book.
Frequently asked questions
Can all swirl marks be removed with paint correction
Many swirl marks in the clear coat can be removed by machine polishing, but results depend on defect depth and clear coat condition. Some marks may only be reduced rather than eliminated if a safer partial correction is chosen to preserve clear coat thickness. See the professional guidance at SE Auto Products and Point Auto for details.
Will paint correction remove deep scratches or scuffs
Deep scratches that cut through the clear coat to base layers often require touch up, wet sanding, or repainting. Paint correction can improve their appearance in some cases, but it will not permanently restore missing paint or fill deep gouges.
Is paint correction safe to do on a mobile visit or should it be done in a shop
Light polishing and test patches are practical on a mobile visit. For lengthy, multi-stage correction or jobs that require strict thickness monitoring and extended curing conditions, an in-shop environment is safer. Ask the provider what they recommend based on your panel severity and their equipment.
How soon should I apply ceramic coating or sealant after paint correction
Protection should be applied immediately after correction, once the surface is cleaned and fully decontaminated. Applying a sealant or coating right away helps lock in the polish and prevents early recontamination.
How do I know if a detailer is measuring clear coat thickness before polishing
Ask the detailer if they use a paint thickness gauge and request the pre- and post-measurement readings. A reputable shop will perform and record gauge measurements when doing aggressive correction and will explain their safe removal targets.
Ready to discuss a test patch, mobile option, or in-shop paint correction and protection? Book or learn more with Prime Auto Wash. For a comparison of DIY and professional fine scratch removal, see Fine Scratch Removal: DIY vs Professional Paint Correction.